
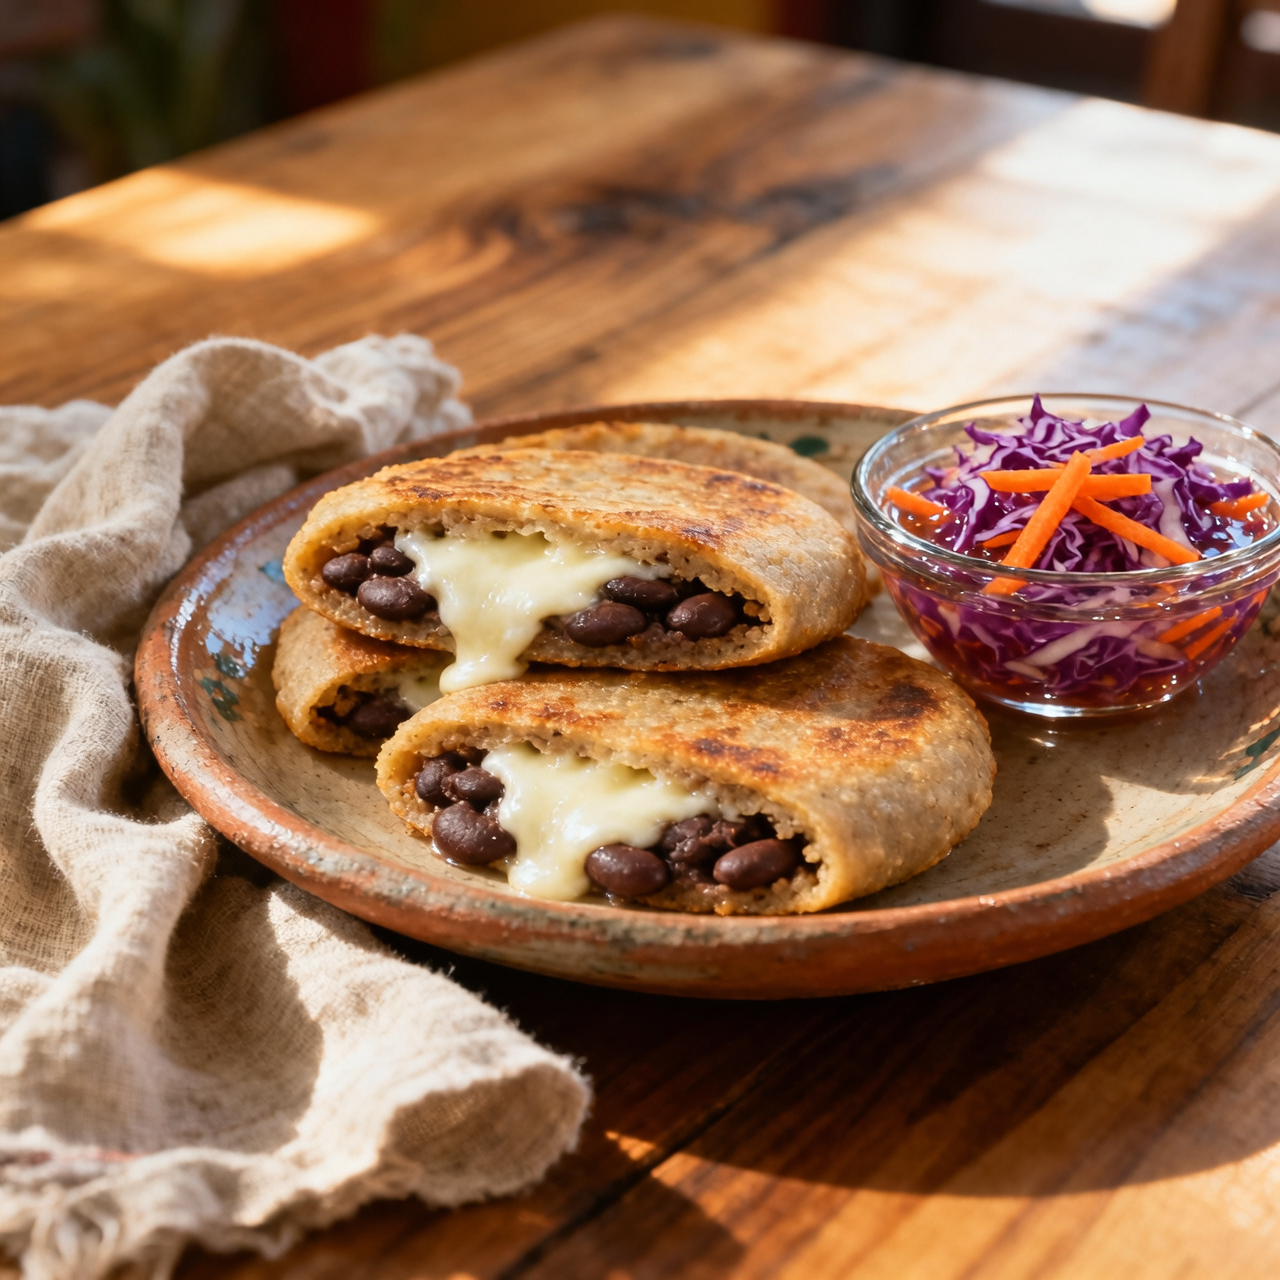
Pupusas
I have always believed that pupusas are far more than a simple street food; they are a living testament to Salvadoran and Honduran heritage, born from the ancient hands of the Pipil and Lenca peoples who first transformed nixtamalized maize into edible canvases long before European colonization. To me, crafting them is an act of preservation, a way to honor generations of women who gathered around wood-fired comals to share stories while their fingers worked the masa with practiced grace. This dish matters because it carries the quiet resilience of Central American communities, offering a humble yet profoundly satisfying union of earthy corn, rich fillings, and the bright tang of curtido that wakes up every bite. Yet, so many cooks stumble at the threshold of success. The most frequent mistake I see is using instant corn flour without properly hydrating it, which leaves the dough brittle and prone to cracking when you try to enclose the filling. Others pack the cheese or beans too generously, causing the masa to tear during the sealing process, or they press the finished disc unevenly, resulting in a lopsided pupusa that cooks inconsistently. I always remind myself that the dough must rest, the filling should be measured with restraint, and the hands must stay lightly oiled to prevent sticking. When you finally press that gentle, confident rhythm into the masa and hear the satisfying sizzle on a hot griddle, you are not just making dinner, you are participating in a centuries-old ritual that refuses to be rushed or forgotten.
Nutrition
| Per serving | Calories | Protein | Carbs | Fat | Sat fat | Fibre | Sugar | Sodium |
|---|---|---|---|---|---|---|---|---|
| beginner | 805kcal | 28g | 127g | 20g | 8g | 18g | 7g | 1300mg |
| intermediate | 805kcal | 28g | 127g | 20g | 8g | 18g | 7g | 1300mg |
| expert | 805kcal | 28g | 127g | 20g | 8g | 18g | 7g | 1300mg |
Per serving · Ava-estimated — a guide, not a clinical figure.
- 500 gmasa harina— nixtamalized corn flour
- 400 mlwater— room temperature
- 10 gfine sea salt— for dough and filling
- 300 gpinto bean— cooked until soft
- 200 gwhole milk mozzarella cheese— grated or torn
- 300 ggreen cabbage— finely shredded
- 100 gcarrot— julienned
- 1 wholeyellow onion— thinly sliced
- 5 gdried oregano— preferably Mexican oregano
- 30 mlapple cider vinegar— for curtido brine
- 30 mlneutral vegetable oil— for pressing and cooking
This version prioritizes confidence over perfection, leaning on reliable shortcuts to guarantee your first pupusas hold together beautifully. We use shelf-stable refried beans and pre-shredded cheese to eliminate prep friction, allowing you to focus entirely on mastering the dough hydration and sealing technique. The key here is patience: let the masa rest fully so the corn hydrates evenly, and keep a bowl of water nearby to patch any microscopic cracks before they widen. Watch your skillet temperature carefully; medium-low is your friend. High heat will scorch the exterior before the filling melts, while rushing the seal will cause leaks. Flatten gently with an oiled plastic sheet or your palms, pressing from the center outward to distribute the filling evenly. Cook until golden spots form and the dough feels firm to the touch. This approach strips away intimidation, giving you a reliable framework to build muscle memory. Once you master the seal and heat control here, scaling up to traditional methods will feel entirely natural. Trust the process, and enjoy the result.
Equipment
- Heavy-bottomed skillet— non-stick is fine here
- Mixing bowl— large capacity for kneading
- Plastic wrap— prevents sticking during pressing
Method
- 1
Combine masa harina, salt, and water in a large bowl until a soft dough forms.
Add water gradually to avoid overhydration.
hydrating~ 5 min - 2
Cover the dough with a damp towel and rest it for fifteen minutes.
Resting allows full starch absorption.
resting~ 15 min - 3
Divide the dough into eight equal portions and roll them into smooth balls.
Keep unused dough covered to prevent drying.
portioning~ 2 min - 4
Flatten each ball into a cup, add two tablespoons of beans and one of cheese, then pinch the edges to seal.
Leave no gaps or filling will leak.
enclosing~ 5 minTricky bit - 5
Press each sealed ball flat between oiled plastic sheets until it forms a thin, even disc.
Apply steady, even pressure from center to edge.
flattening~ 3 minTricky bit - 6
Heat a heavy skillet over medium heat and cook each disc for three minutes per side until golden.
Listen for a gentle sizzle, not a harsh pop.
searing~ 6 min - 7
Toss shredded cabbage, grated carrots, sliced onion, oregano, vinegar, and salt in a bowl.
Toss vigorously to distribute the brine evenly.
macerating~ 2 min