
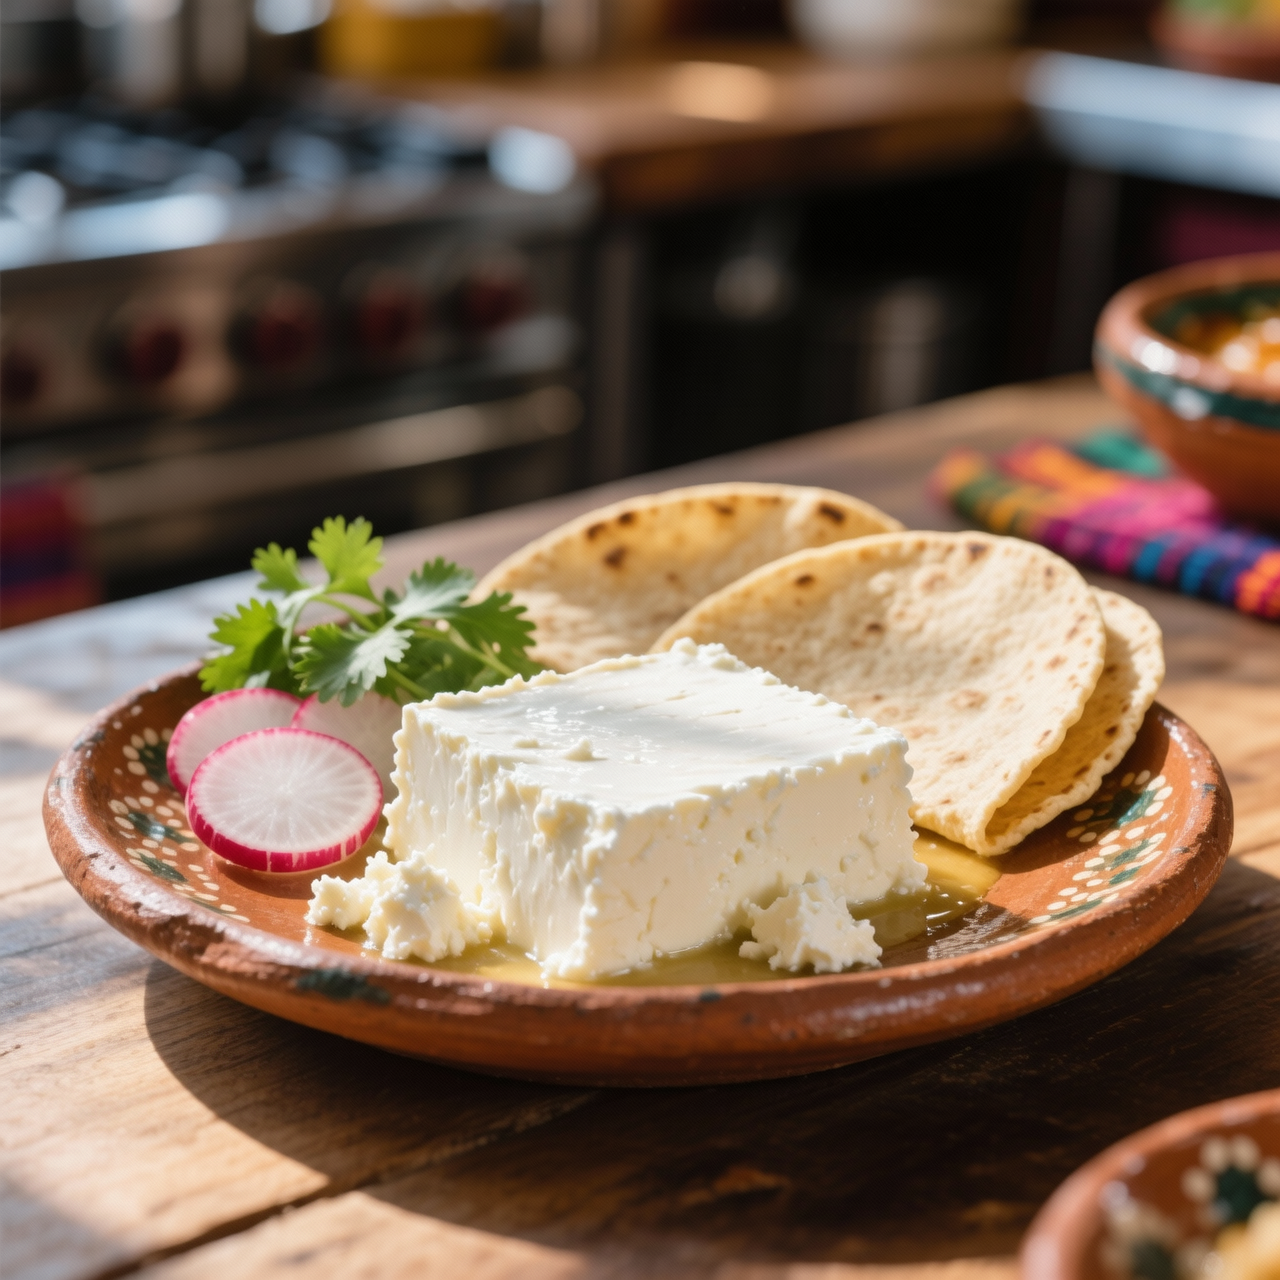
Queso Fresco
When I make queso fresco at home, I find it to be one of the most rewarding culinary projects, a return to pure, fundamental technique rather than a mere shortcut. Originating in Mexico, this fresh, unaged cheese has been a staple for centuries, and I prize it for its milky, slightly tangy flavor and its ability to crumble beautifully over beans and antojitos without melting into a greasy puddle. Shop-bought versions often cost me around six dollars for a small plastic-wrapped block, and frankly, I find them a huge disappointment. Commercial queso fresco is frequently packed with anti-caking agents and preservatives to extend shelf life, resulting in a rubbery, overly salty texture that lacks the delicate, creamy sweetness I get from the real thing. When I make it myself, I only need whole milk, an acid like white vinegar, and salt. The magic happens when I gently heat the milk and introduce the acid, watching the curds separate from the golden whey. The most common pitfall I see is boiling the milk too vigorously, which makes the curds tough and grainy, or pressing the cheese too heavily, which squeezes out the moisture needed for that signature tender crumble. By taking just an hour of my time, I reclaim a vibrant, living ingredient. I bypass the industrial processing and the inflated supermarket price, yielding a generous, fluffy batch of cheese that tastes like a warm hug from a traditional kitchen, proving to me that the most authentic flavors are always the ones I coax out myself.
Nutrition
| Per serving | Calories | Protein | Carbs | Fat | Sat fat | Fibre | Sugar | Sodium |
|---|---|---|---|---|---|---|---|---|
| beginner | 350kcal | 22g | 4g | 26g | 16g | 0g | 4g | 380mg |
| intermediate | 115kcal | 8g | 2g | 9g | 6g | 0g | 1g | 320mg |
| expert | 600kcal | 40g | 6g | 48g | 30g | 0g | 4g | 800mg |
Per serving · Ava-estimated — a guide, not a clinical figure.
- 2 LWhole milk— Do not use ultra-pasteurized or UHT milk
- 60 mLWhite vinegar— Fresh lemon juice can be used as a substitute
- 10 gSalt— Fine sea salt or kosher salt
Shop-bought queso fresco often costs upwards of $6 for a small 8-ounce block and is frequently plagued by anti-caking agents, stabilizers, and a chalky, dry texture that fails to melt or crumble properly. This beginner-friendly from-scratch version bypasses all processed shortcuts, using just three real ingredients to create a vibrant, moist, and authentic fresh cheese in under an hour. While expert versions might use specific mesophilic cultures or raw milk, this simplified technique relies on standard whole milk and a simple acid like white vinegar or lemon juice to achieve a reliable curd. Watch closely when heating the milk; it must reach exactly 190°F (88°C) without boiling over, which can scorch the proteins and yield a rubbery texture. Stirring the acid in gently and letting it rest undisturbed is crucial for forming large, distinct curds rather than a grainy mess. The result is a remarkably superior, clean-tasting cheese that costs pennies per batch, completely transforming your tacos, beans, and salads without the rubbery bite of the packaged stuff.
Equipment
- Heavy-bottomed pot— Stainless steel or enameled to prevent scorching the milk
- Instant-read thermometer— Crucial for hitting the exact 190°F target without boiling
- Colander— Large enough to hold the curds
- Cheesecloth— Or a clean, thin cotton tea towel
Method
- 1
Line a colander with a double layer of cheesecloth and set it over a large bowl to catch the whey.
Ensure the cloth hangs over the edges for easy gathering later.
lining~ 1 min - 2
Pour the whole milk into the heavy-bottomed pot and heat over medium heat, stirring occasionally to prevent scorching, until it reaches exactly 190°F (88°C).
Do not let the milk come to a rolling boil, or the proteins will break down and make the cheese rubbery.
scalding~ 15 minTricky bit - 3
Remove the pot from the heat and gently stir in the white vinegar and salt until just combined.
You will immediately see the curds separating from the yellowish whey.
acidifying~ 1 min - 4
Cover the pot and let the mixture sit completely undisturbed at room temperature for 15 minutes.
Resist the urge to stir; resting allows the curds to firm up and separate cleanly.
resting~ 15 min - 5
Carefully pour the milk mixture into the prepared cheesecloth-lined colander and let it drain for 30 minutes for a moist cheese, or up to 2 hours for a firmer crumble.
For a drier cheese, gather the corners of the cloth and gently squeeze out excess whey.
draining~ 30 min
Cooking from frozen
Thaw overnight in the fridge; texture becomes drier and more crumbly, so use it in cooked dishes.
Storage times are a guide — always use your judgement and store food safely.