
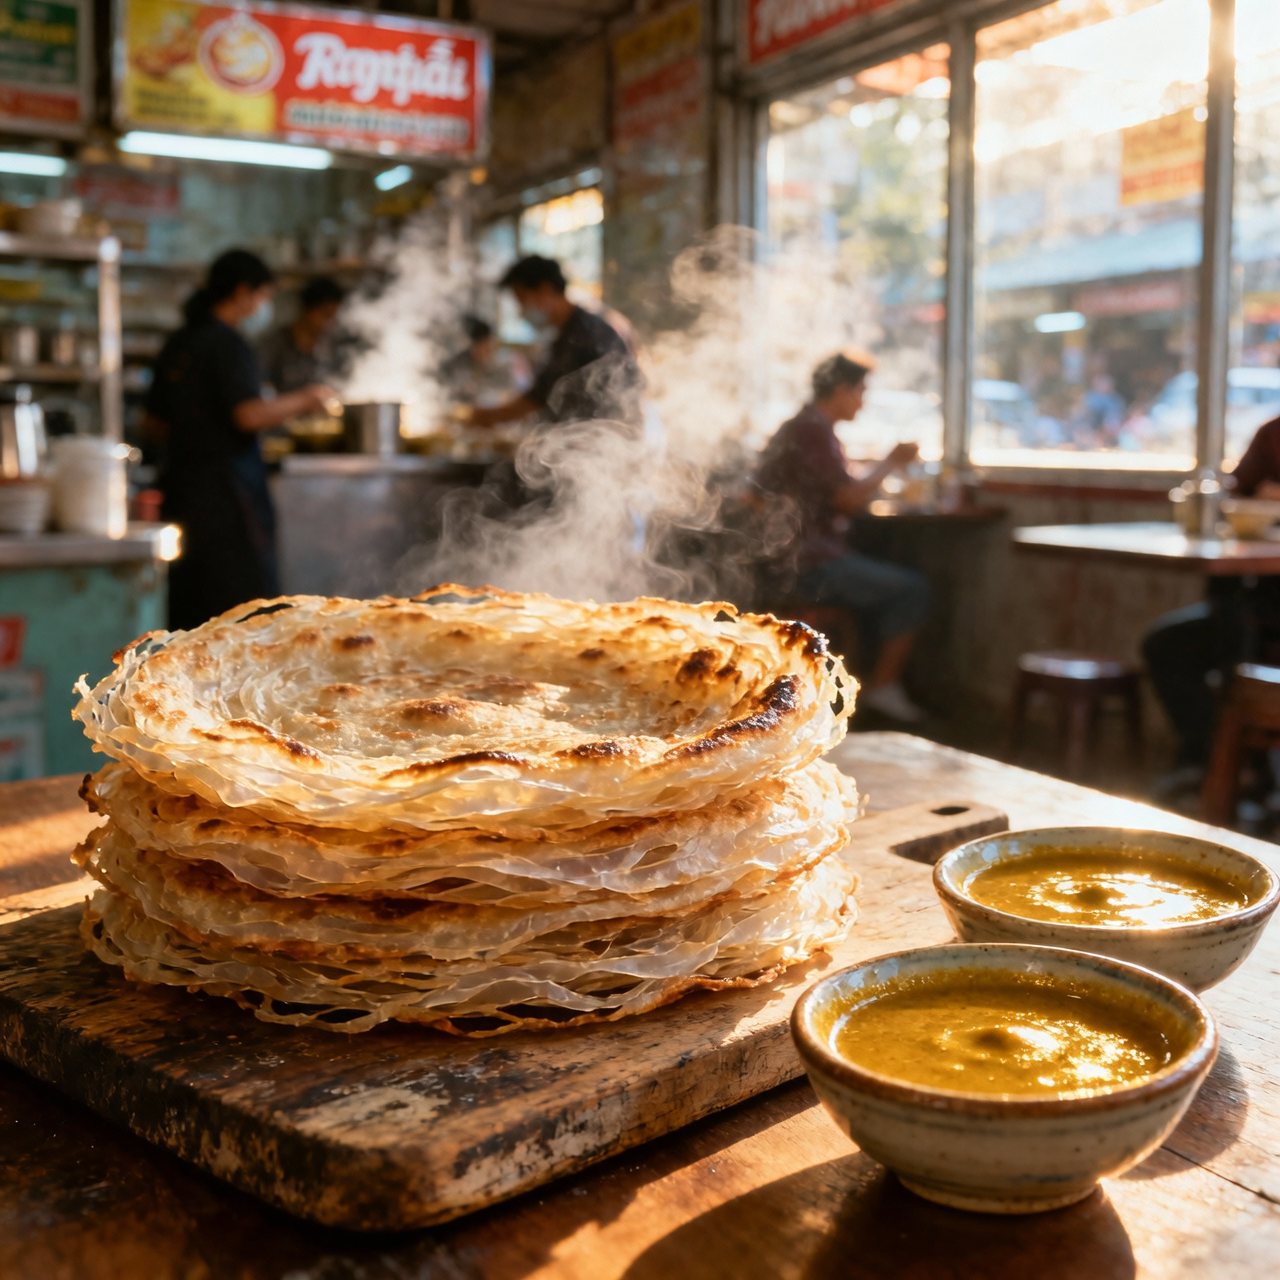
Roti Canai
I’ve always believed that roti canai is more than just a breakfast staple; it’s a quiet testament to migration, adaptation, and the stubborn beauty of dough. Brought to the Malay Peninsula by Tamil Muslim traders centuries ago, the dish evolved from the South Indian parotta into something distinctly Malaysian—flaky, paper-thin, and impossibly stretchy. What makes it matter to me isn’t just its cultural footprint, but how it bridges generations through the rhythm of slapping, folding, and stretching dough on a steel countertop. Yet, when I first tried making it, I quickly learned that technique trumps ingredients every time. The most common pitfall isn’t the flour-to-water ratio, though that certainly matters; it’s impatience during the resting phase. Skipping a proper two-hour hydration window leaves the gluten tight and unyielding, guaranteeing a tough, chewy result instead of the delicate, layered crispness we chase. Another mistake I see constantly is overworking the dough during the stretch phase or using too much heat on the griddle, which burns the exterior before the interior can puff. Since I adapt this for a vegan kitchen, I’ve swapped traditional ghee for refined coconut oil and a touch of plant-based margarine, which actually lends a cleaner, nutty aroma without compromising the lamination. The secret isn’t in the fat itself, but in how you fold it—generously, patiently, and with a light hand. When done right, roti canai becomes a canvas, tearing into tender pockets that beg for a bowl of spiced lentil dhal or a bright, tangy sambal. It’s a dish that rewards stillness, precision, and respect for time.
Nutrition
| Per serving | Calories | Protein | Carbs | Fat | Sat fat | Fibre | Sugar | Sodium |
|---|---|---|---|---|---|---|---|---|
| beginner | 660kcal | 14g | 82g | 33g | 13g | 6g | 5g | 580mg |
| intermediate | 660kcal | 14g | 82g | 33g | 13g | 6g | 5g | 580mg |
| expert | 660kcal | 14g | 82g | 33g | 13g | 6g | 5g | 580mg |
Per serving · Ava-estimated — a guide, not a clinical figure.
- 400 gbread flour— high-protein for optimal elasticity
- 220 mlwarm water— around 40 degrees Celsius
- 80 mlneutral vegetable oil— for dough and cooking
- 6 gfine sea salt
- 12 ggranulated sugar— aids fermentation and browning
- 30 gyellow curry powder— mild to medium heat blend
- 200 mlcoconut milk— full-fat, for dipping sauce
This pathway removes the intimidation of traditional dough stretching by replacing it with a forgiving, rolling-pin method. I have designed these steps to prioritize consistency over theatricality, ensuring your first attempt emerges with recognizable layers and a satisfying chew. You will still work with the exact same core ingredients, but the handling is deliberately simplified. The dough rests just long enough to become pliable, and the cooking relies on a reliable non-stick surface to prevent sticking without demanding perfect heat control. Watch closely for the moment the edges begin to blister and turn translucent; that is your signal to fold and flip. Avoid the temptation to rush the resting phase, even when using a simplified approach, as hydrated flour needs time to relax. If the dough resists your rolling pin, cover it for five minutes and return later. This version guarantees a confident first bake, delivering the familiar aroma and flavor profile without requiring advanced wrist technique or a commercial griddle.
Equipment
- non-stick skillet— 10 to 12 inches wide
- wooden rolling pin— lightly dusted with flour
- mixing bowl— large enough for vigorous stirring
- pastry brush(optional)— for even oil application
Method
- 1
Combine flour, salt, and sugar in a large mixing bowl until evenly distributed.
A fork works perfectly here.
dry whisking~ 1 min - 2
Pour in warm water and half the oil, mixing until a shaggy dough forms.
Resist adding extra flour even if it feels sticky.
hydration~ 1 min - 3
Knead briefly until smooth, coat with remaining oil, cover, and rest at room temperature.
Dough should feel like an earlobe when ready.
autolyse~ 30 minTricky bit - 4
Divide the dough into four equal balls and roll each into a thin circle on an oiled surface.
Use a rolling pin if hand-stretching feels intimidating.
lamination prep~ 5 min - 5
Pan-fry each circle on medium heat until golden blisters form, then flip and crisp the other side.
Do not press down with the spatula.
pan-frying~ 4 min - 6
Fold the cooked flatbreads into quarters, stack on a plate, and serve with warmed coconut curry.
Keep covered with foil to maintain steam and softness.
plating~ 1 min