
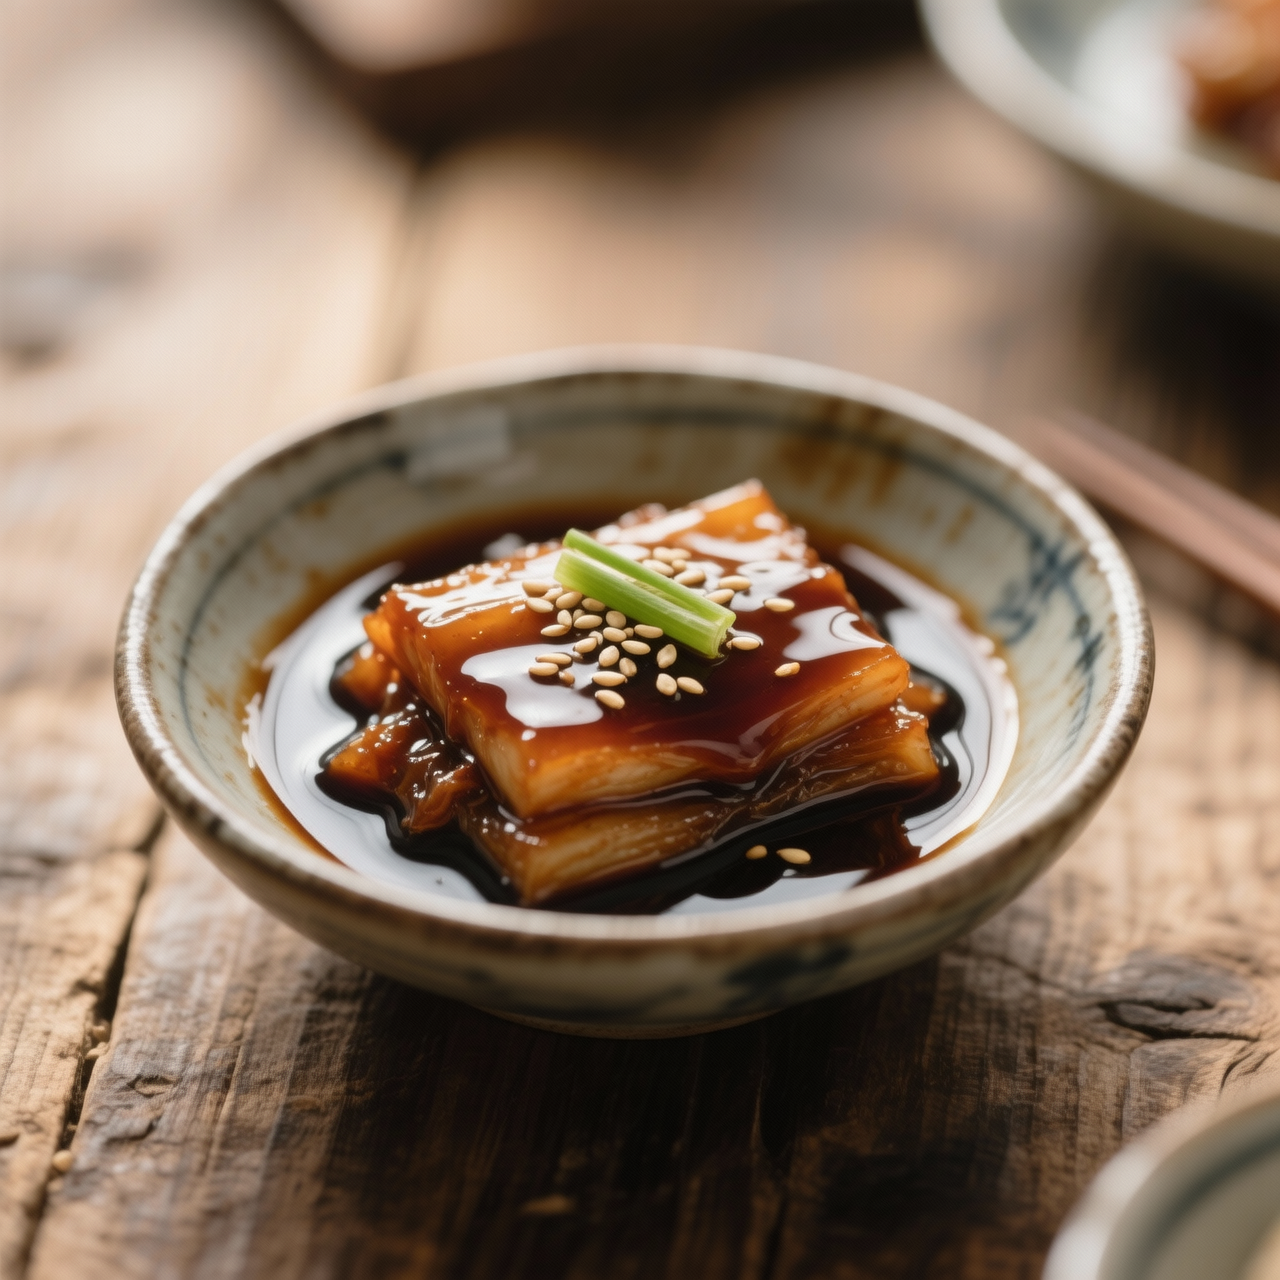
Seasoned Soy (Yangnyeom Ganjang)
I have always believed that a truly great kitchen is built on its condiments, and yangnyeom ganjang sits quietly at the heart of mine. Born from the Korean tradition of balancing the deep, earthy umami of fermented soy with the bright sweetness of natural sugars, this seasoned soy sauce is far more than a simple seasoning. Historically, it emerged as a practical way to stretch precious soy sauce and elevate humble staples like steamed rice and crispy pancakes into something deeply comforting. What I love about it is its quiet versatility; it doesn’t demand attention, yet it effortlessly ties together disparate textures and temperatures on the plate. However, crafting it properly requires patience and restraint. The most common mistake I see is rushing the simmer, which drives off the delicate aromatics and leaves behind a harsh, overly salty syrup. Another frequent pitfall is relying on cheap, heavily processed soy sauce that lacks the nuanced fermentation depth this recipe depends on. I always advise starting with a high-quality traditionally brewed ganjang, gently warming the liquid with aromatics like garlic, ginger, and scallions, and letting the sugars dissolve slowly without ever bringing it to a rolling boil. Over-sweetening is equally tempting, but the goal is harmony, not dessert. When you respect the slow melding of these ingredients, you end up with a glossy, fragrant drizzle that transforms even the simplest meal into something memorable. Keep it in a clean glass jar, away from direct heat, and it will patiently wait in your fridge, ready to elevate your everyday cooking.
Nutrition
| Per serving | Calories | Protein | Carbs | Fat | Sat fat | Fibre | Sugar | Sodium |
|---|---|---|---|---|---|---|---|---|
| beginner | 90kcal | 1g | 13g | 4g | 1g | 0g | 12g | 880mg |
| intermediate | 95kcal | 3g | 14g | 1g | 0g | 1g | 12g | 2100mg |
| expert | 18kcal | 1g | 3g | 1g | 0g | 0g | 2g | 580mg |
Per serving · Ava-estimated — a guide, not a clinical figure.
- 150 gsoy sauce— Use traditional Korean ganjang for best results
- 100 gwater— Filtered water recommended to preserve flavor clarity
- 40 gbrown sugar— Can be substituted with vegan oligosaccharide or maple syrup
- 15 ggarlic— Peeled and finely minced
- 25 gscallion— White and light green parts only, thinly sliced
- 5 gginger— Freshly peeled and grated
- 5 gsesame oil— Toasted variety preferred
- 5 gsesame seed(optional)— Lightly toasted
This beginner-friendly version of Yangnyeom Ganjang prioritizes accessibility and reliability over traditional complexity. Instead of fermenting or reducing from scratch, we lean on high-quality store-bought soy sauce as our base, paired with convenient jarred minced garlic and ginger to save prep time. The goal is to create a balanced, glossy drizzle for rice bowls and savory pancakes without worrying about precise temperature control or complex ingredient sourcing. You will gently simmer the mixture just long enough to dissolve the sweetener and mellow the sharp raw edge of the aromatics. Watch your heat carefully: keep it at a bare simmer to avoid scorching the sugars, which can quickly turn bitter. Stir frequently, especially once the liquid reduces and bubbles become thicker. Once cooled, the sauce will thicken slightly more as it rests, so do not over-reduce it in the pan. This method guarantees a consistent, restaurant-style flavor profile in under half an hour, perfect for confident weeknight meal prep. Store it in a clean glass jar in the fridge, where it will keep its bright, savory punch for up to a month.
Equipment
- Small saucepan— light-colored interior helps monitor color changes
- Silicone spatula— for constant gentle stirring
- Airtight glass jar— clean and dry before filling
Method
- 1
Measure all ingredients and prep your workspace before turning on the heat.
Having everything within reach prevents scorching once the pan is hot.
preparation~ 2 min - 2
Combine soy sauce, water, sugar, jarred minced garlic, and jarred minced ginger in the saucepan.
Stir gently just to combine and break up any sugar clumps.
dissolving~ 1 min - 3
Place over medium-low heat and bring to a bare simmer, stirring constantly until the sugar fully dissolves.
Bubbles should be small and steady, not rolling or vigorous.
simmering~ 5 minTricky bit - 4
Maintain the gentle simmer for 8 to 10 minutes until the liquid reduces by about one-third and coats the back of a spoon.
Remove immediately if you smell any caramelized bitterness.
reducing~ 9 min - 5
Remove from heat and immediately whisk in sesame oil and optional chili flakes until fully incorporated.
Adding fat off-heat preserves its delicate aroma and prevents separation.
finishing~ 1 min - 6
Let the sauce cool completely at room temperature before transferring to the storage jar.
It will thicken further as it cools; do not add extra water.
cooling~ 20 min
Cooking from frozen
Thaw overnight in the refrigerator and whisk vigorously to recombine any separated liquids before drizzling.
Storage times are a guide — always use your judgement and store food safely.