
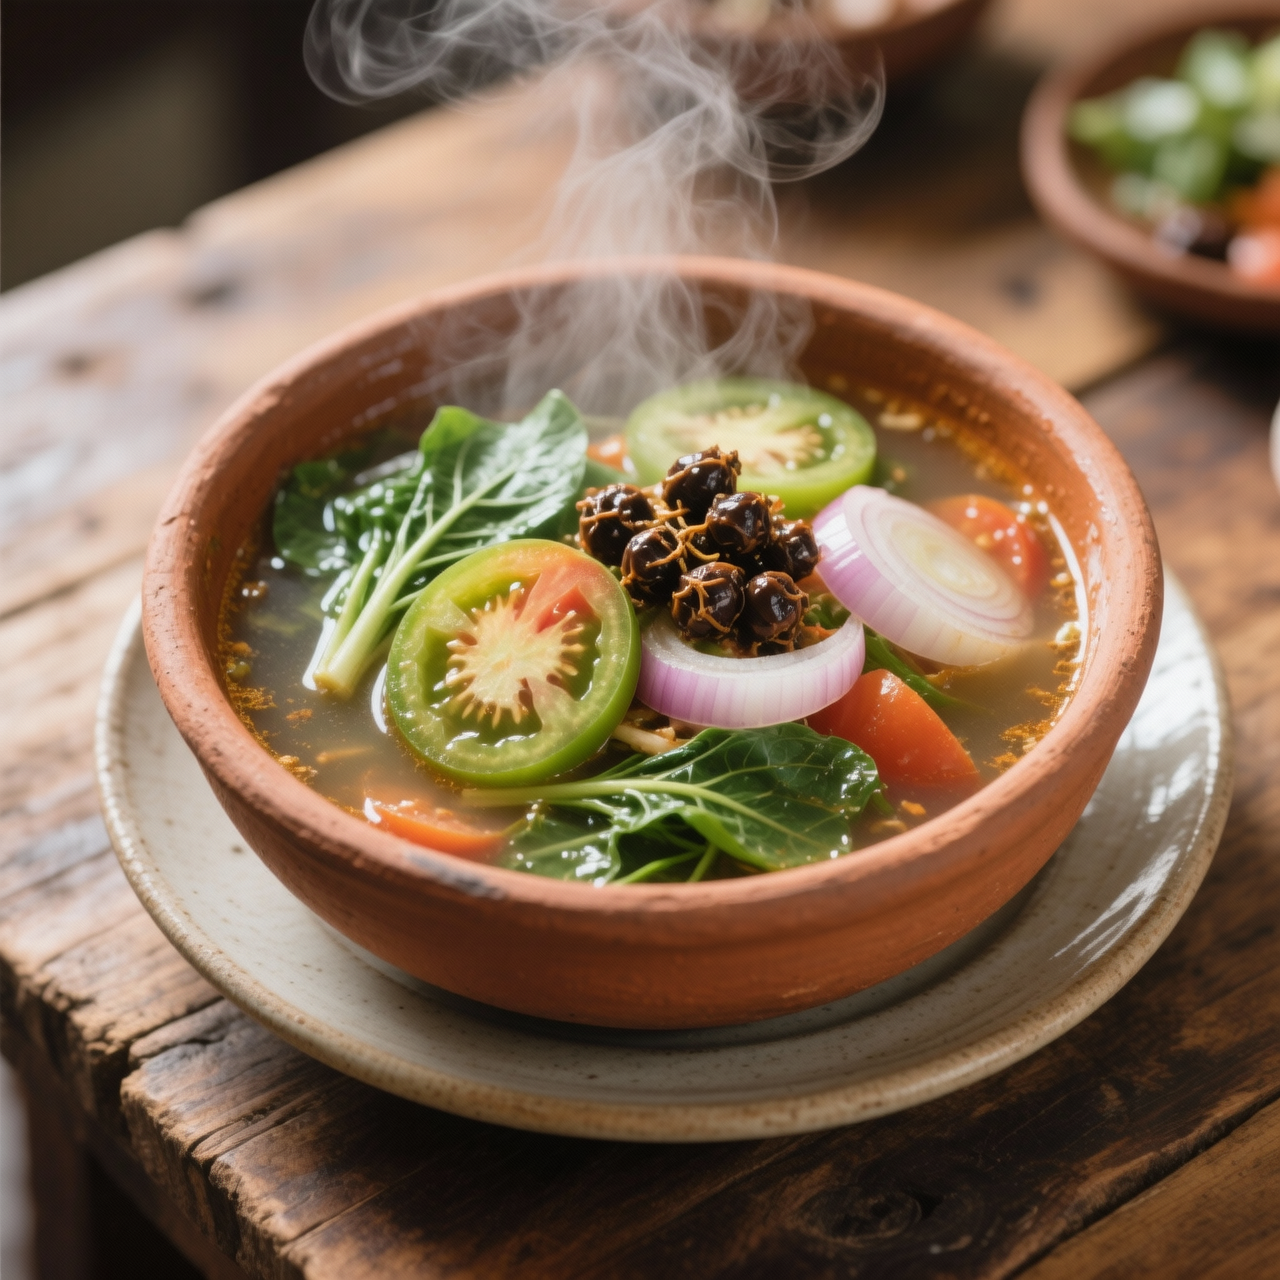
Sinigang Souring Base
I still remember the first time I tried to shortcut a proper sinigang by dumping a handful of raw tamarind pulp straight into the pot, only to watch it seize and turn the broth into a bitter, cloudy mess. That’s when I realized why my lola always swore by a dedicated souring base: it’s not just about acidity, it’s about control. In the Philippines, where the rainy season drags on and cravings for that sharp, comforting tang run high, having a ready-made tamarind paste is a quiet kind of magic. I make mine by slow-roasting ripe tamarind pods until the shells crack, then simmering the flesh with just enough water and a pinch of salt until it breaks down into a thick, mahogany concentrate. Once strained and reduced, it becomes the backbone of any sinigang you can dream up. What matters most isn’t just the sourness itself, but how it carries the dish forward—brightening vegetables, lifting proteins, and balancing the earthy depth of simmering aromatics. The biggest pitfall I see home cooks stumble over is rushing the reduction or adding fresh water at the wrong stage, which dilutes the natural pectin and turns a luxurious paste into a watery wash. Another common trap is skipping the fine strain; leaving behind even tiny seed fragments or fibrous bits will ruin the mouthfeel. When you treat this base like a batch hero, portioning it into ice cube trays or small silicone molds before freezing, you’re not just saving time. You’re preserving a living, breathing flavor foundation that thaws cleanly and drops straight into a simmering pot without losing its vibrant punch.
Nutrition
| Per serving | Calories | Protein | Carbs | Fat | Sat fat | Fibre | Sugar | Sodium |
|---|---|---|---|---|---|---|---|---|
| beginner | 35kcal | 1g | 8g | 0g | 0g | 2g | 5g | 380mg |
| intermediate | 75kcal | 2g | 16g | 1g | 0g | 4g | 5g | 180mg |
| expert | 65kcal | 1g | 15g | 0g | 0g | 4g | 6g | 580mg |
Per serving · Ava-estimated — a guide, not a clinical figure.
- 200 gtamarind pulp— Seedless blocks preferred; soak briefly in warm water if firm
- 150 mlwater— Warm water aids extraction and creates a smoother paste consistency
- 10 gsea salt— Acts as a natural preservative to maintain flavor during freezer storage
This beginner-friendly version skips traditional dry-roasting and seed-removal steps by relying on ready-made tamarind concentrate and pre-ground spices. You will combine water, tamarind paste, and a touch of salt in a heavy-bottomed pan, gently heating until the mixture thickens into a smooth, shelf-stable paste. Because shortcuts are welcome, you can use a whisk to quickly break up any stubborn clumps rather than laboriously mashing them by hand. The primary goal is a confident, stress-free first attempt that delivers reliable sourness every time. Watch the heat carefully; tamarind burns easily when reduced too aggressively, so keep your flame at a steady medium-low and stir constantly as the liquid evaporates. Avoid using high heat to speed up the process, as it will darken the color and introduce unwanted bitterness. Once your base reaches a syrup-like consistency that coats the back of a spoon, immediately remove it from the heat. Let it cool completely at room temperature before transferring it to ice cube trays. Proper cooling prevents condensation, which stops freezer burn and keeps your future batches tasting bright and clean.
Equipment
- Heavy-bottomed saucepan— non-stick is fine here
- Whisk— stainless steel or silicone
- Silicone ice cube tray— 12-cavity standard size
Method
- 1
Measure out all ingredients and combine the water, tamarind concentrate, salt, and sugar in a heavy-bottomed saucepan over medium-low heat.
Use a standard liquid measuring cup for accuracy.
mise en place~ 2 min - 2
Whisk vigorously until the tamarind paste fully dissolves into the liquid, scraping the bottom corners to prevent early sticking.
A balloon whisk works best for breaking up dense clumps.
emulsifying~ 2 min - 3
Bring the mixture to a gentle simmer, then reduce the heat to low and cook uncovered, stirring every two minutes.
Bubbles should barely break the surface.
simmering~ 5 minTricky bit - 4
Continue simmering until the liquid thickens to a glossy, syrup-like consistency that leaves a clear trail when a spatula is dragged through it.
This stage is crucial for proper freezing and flavor concentration.
reducing~ 10 minTricky bit - 5
Remove the pan from the heat, let the base cool completely to room temperature, then pour into silicone trays and freeze until solid before transferring to a storage bag.
Never pour hot paste directly into plastic trays.
flash-freezing~ 3 min
Cooking from frozen
Thaw overnight in the fridge or drop frozen portions directly into a simmering pot to melt and blend.
Storage times are a guide — always use your judgement and store food safely.