
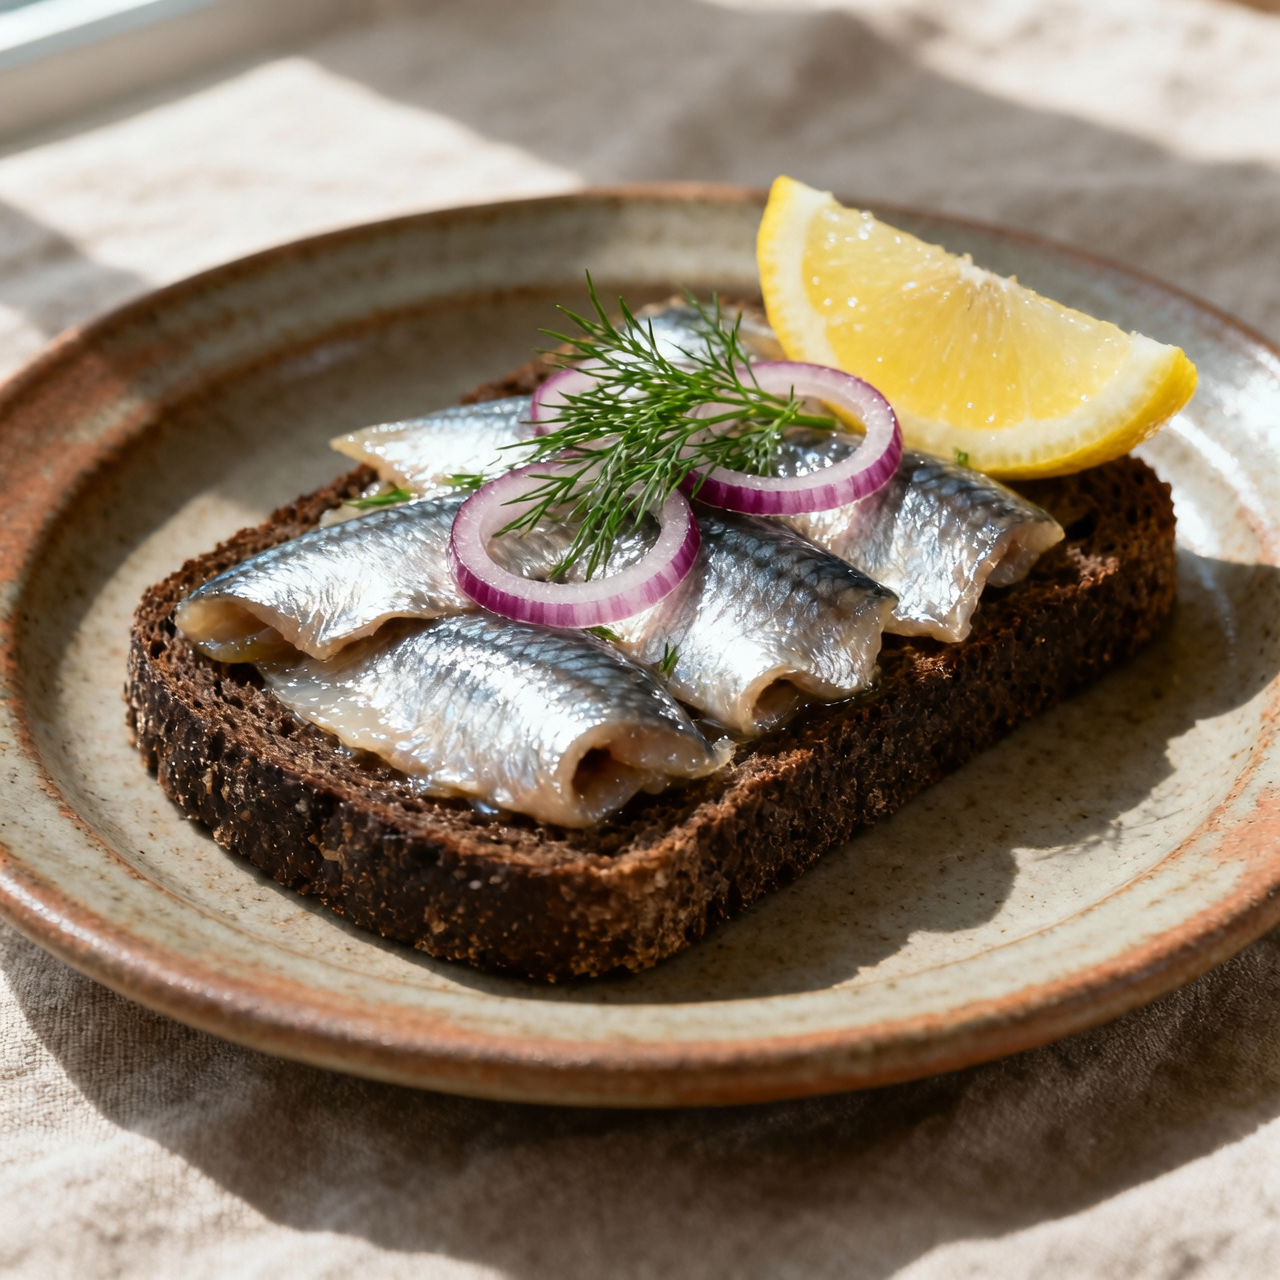
Smorrebrod
When I first encountered smørrebrød in a quiet Copenhagen kitchen, I thought it was just a sandwich. I was wrong. It is a culinary architecture, a deliberate composition born from centuries of Danish resourcefulness and a profound respect for seasonal ingredients. Historically, these open-faced rye breads emerged as practical lunch fare for agricultural workers, but over time they evolved into an art form served at formal luncheons and family gatherings alike. What makes smørrebrød matter to me is its refusal to rush. Every element—the dense, sour rye, the butter barrier that keeps the bread from weeping, the precise arrangement of pickled herring, roast beef, or crisp radishes—demands attention. Yet, I watch home cooks stumble over the same pitfalls again and again. They pile ingredients too high, turning a balanced bite into a precarious tower. They skip the butter, leaving the rye soggy within minutes. They treat it as a casual wrap instead of honoring its open-faced discipline. The truth is, smørrebrød thrives on restraint. You do not need exotic garnishes; you need quality, temperature contrast, and structural honesty. When I assemble mine, I think about the Danish concept of hygge and the quiet pride of a well-plated lunch that speaks without shouting. This dish is not about abundance; it is about intentionality. Master that, and you will understand why generations have returned to this humble yet profound table staple.
Nutrition
| Per serving | Calories | Protein | Carbs | Fat | Sat fat | Fibre | Sugar | Sodium |
|---|---|---|---|---|---|---|---|---|
| beginner | 315kcal | 14g | 24g | 18g | 8g | 4g | 4g | 900mg |
| intermediate | 315kcal | 14g | 24g | 18g | 8g | 4g | 4g | 900mg |
| expert | 315kcal | 14g | 24g | 18g | 8g | 4g | 4g | 900mg |
Per serving · Ava-estimated — a guide, not a clinical figure.
- 200 grye bread— dense, traditional Danish rugbrød
- 40 gbutter— unsalted, softened
- 160 gpickled herring— skinless fillets in vinegar brine
- 80 gred onion— thinly sliced
- 15 gcapers— rinsed and drained
- 10 gdill— fresh fronds only
- 2 wholeegg— hard-boiled
- 1 wholelemon— zest and wedges
- 5 gblack peppercorn— whole
- 3 gsea salt— coarse
This version prioritizes accessibility without sacrificing the structural integrity that defines a proper open-faced sandwich. You will rely on pre-measured jarred remoulade and pre-sliced onion to eliminate prep friction, allowing you to focus entirely on the assembly sequence. The key to a confident first attempt is moisture management. Pickled herring releases brine that will quickly compromise the rye, so draining and patting the fillets dry is non-negotiable. I recommend toasting your bread slices briefly to create a sturdier foundation, then applying a thin, even layer of softened butter as a protective barrier. Arrange your toppings in a deliberate, overlapping pattern rather than scattering them, which ensures every forkful delivers the intended balance of textures. Keep your knife sharp and use a gentle sawing motion when cutting the finished piece to prevent the toppings from sliding off. Do not rush the plating; the visual arrangement directly influences how the flavors are perceived. Watch for condensation pooling on the plate, which signals that your ingredients were too wet before assembly. With these guardrails, you will achieve a structurally sound, deeply satisfying introduction to Scandinavian lunch culture that builds immediate confidence for more complex iterations.
Equipment
- Serrated knife— essential for cutting rye without crushing
- Paper towels— for draining wet toppings
Method
- 1
Drain the pickled herring thoroughly on paper towels.
Pat completely dry to prevent soggy bread.
draining~ 1 minTricky bit - 2
Lightly toast the rye bread slices until firm.
Do not brown them deeply.
toasting~ 2 min - 3
Spread a thin, even layer of softened butter across each slice.
Edge to edge coverage prevents moisture seepage.
spreading~ 2 min - 4
Arrange the herring, onion, and capers in a neat overlapping layer.
Keep the composition flat and stable.
plating~ 3 min - 5
Garnish with fresh dill, egg slices, and a squeeze of lemon.
Cut only when ready to serve.
garnishing~ 1 min