
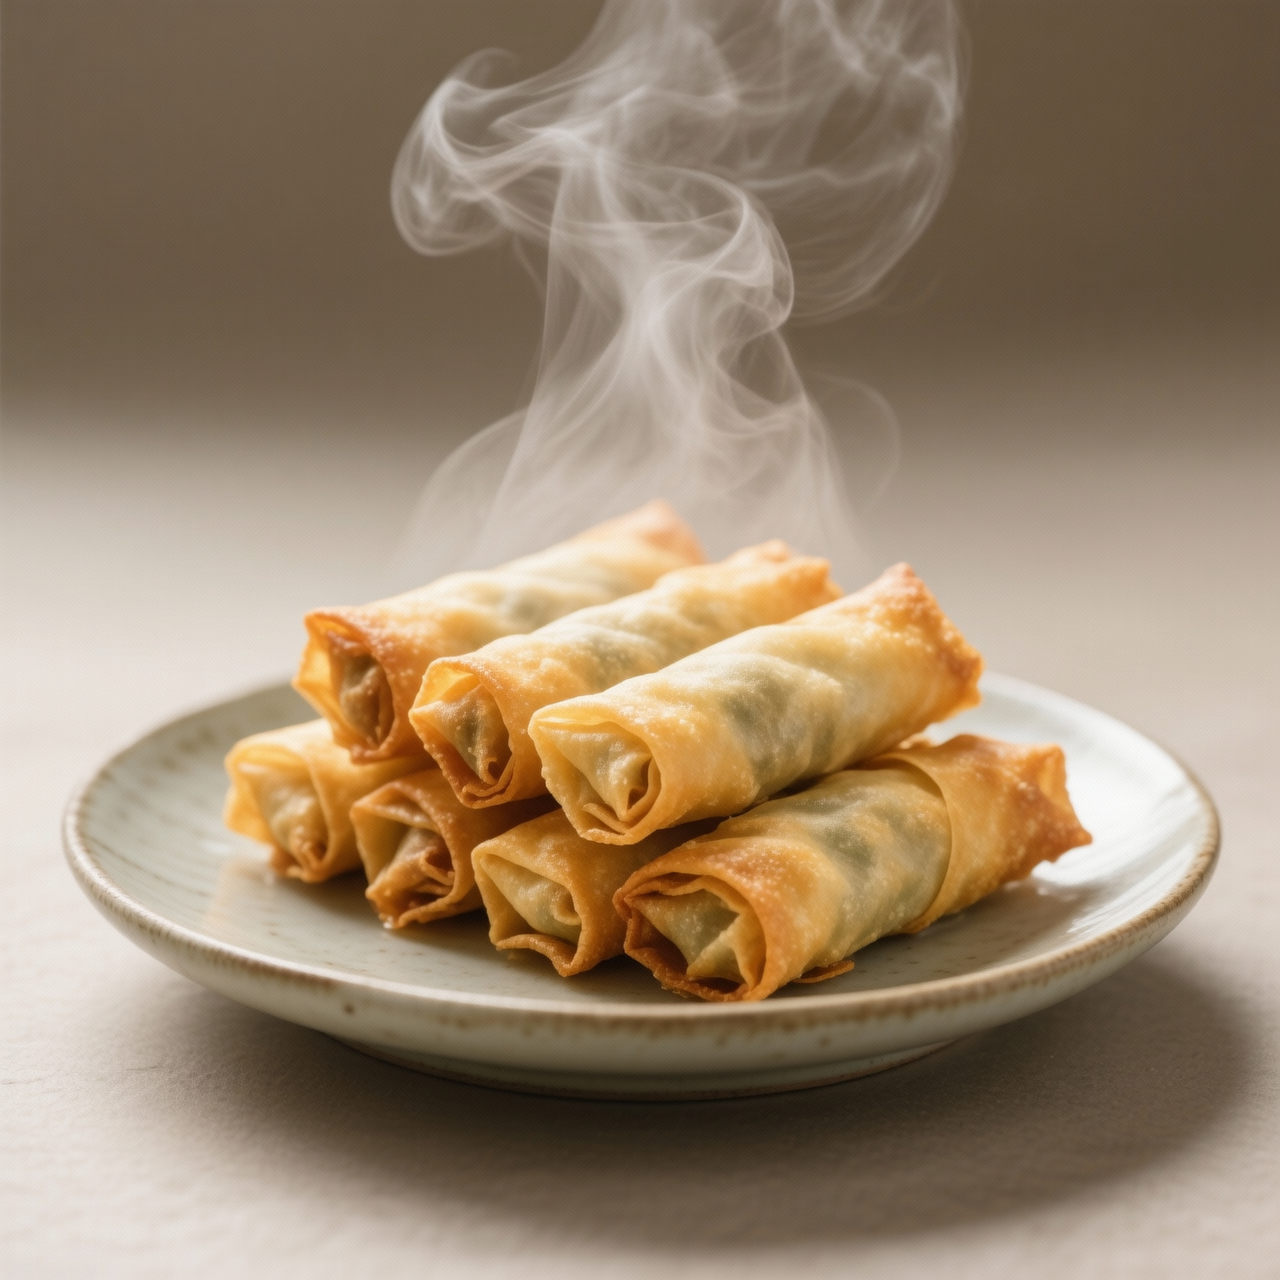
Spring Rolls
I’ve always believed that the best snacks are the ones you can make yourself, especially when the supermarket versions leave so much to be desired. Spring rolls trace their roots back to ancient China, where they were originally crafted to celebrate the arrival of spring with fresh, seasonal vegetables wrapped in delicate pastry. Today, I see too many people settling for those pale, cardboard-like frozen boxes that cost upwards of four pounds for a handful, packed with stabilizers, cheap refined oils, and a filling that tastes more like seasoned cardboard than actual produce. That’s why I developed this from-scratch method. When you make them yourself, you control every element: crisp, paper-thin dough made from just flour, water, and salt, and a vibrant vegetarian filling of finely shredded cabbage, carrots, wood ear mushrooms, and vermicelli, all bound together with toasted sesame oil and a whisper of ginger. The real magic, however, lies in patience and precision. The most common pitfall I see is overstuffing, which tears the wrappers during frying and lets the oil soak straight in. Another is rolling them too loosely, causing them to unravel in the fryer. My advice is to keep your fillings dry, use a light hand, and embrace the batch-hero approach: roll your entire batch, freeze them solid on a baking sheet, then bag them for later. This way, you can drop them straight from frozen into hot oil for a blisteringly crisp finish that no factory ever managed to replicate. Making these at home isn’t just cheaper; it’s an act of culinary preservation that honors the dish’s original, vibrant spirit.
Nutrition
| Per serving | Calories | Protein | Carbs | Fat | Sat fat | Fibre | Sugar | Sodium |
|---|---|---|---|---|---|---|---|---|
| beginner | 285kcal | 8g | 37g | 11g | 2g | 4g | 5g | 390mg |
| intermediate | 310kcal | 7g | 36g | 14g | 2g | 4g | 5g | 410mg |
| expert | 320kcal | 6g | 38g | 15g | 2g | 3g | 4g | 350mg |
Per serving · Ava-estimated — a guide, not a clinical figure.
- 12 sheetspring roll wrapper— Keep covered with a damp cloth to prevent drying
- 300 gnapa cabbage— Finely shredded and excess moisture squeezed out
- 100 gcarrot— Julienned
- 80 gshiitake mushroom— Rehydrated if dried, then finely diced
- 50 gglass noodle— Soaked in warm water until soft, then cut into short lengths
- 30 mlsoy sauce— Light or regular
- 10 mlsesame oil— Toasted
- 500 mlvegetable oil— Neutral oil suitable for deep frying
- 3 gsalt— Adjust to taste
- 2 gwhite pepper— Freshly ground
This beginner-friendly version strips away the intimidation of restaurant-style spring rolls while keeping everything completely from-scratch. Instead of relying on pre-mixed fillings or frozen shop-bought packets that cost upwards of six dollars for a handful of bland, greasy, and preservative-heavy rolls, you will build a bright, crisp filling using everyday vegetables and a quick homemade seasoning blend. The key difference here is a simplified wrapping method: you will use standard wheat wrappers moistened with a simple flour-water paste instead of wrestling with tricky egg washes or delicate rice papers. Watch closely for two things: keep your filling thoroughly drained to prevent soggy wrappers, and maintain medium heat when frying so the exterior crisps evenly without burning before the interior heats through. This approach is highly forgiving for first-timers, and the rolls freeze beautifully on a tray before transferring to airtight bags, giving you a ready-to-cook stash that far outshines the freezer aisle. Focus on tight, neat rolls and consistent oil temperature, and you will achieve a satisfying crunch with every bite.
Equipment
- Deep skillet or wok— non-stick is fine for easier cleanup
- Fine-mesh strainer— essential for draining excess moisture
- Small mixing bowl— for preparing the sealing paste
Method
- 1
Shred the cabbage and carrots finely, mince the ginger and garlic, and soak the glass noodles in hot water until pliable.
Keep vegetable pieces uniform for even cooking.
julienning~ 10 min - 2
Stir-fry the vegetables and noodles in a dry pan over medium heat until softened and fragrant, then drain thoroughly.
Press firmly with a spatula to remove excess liquid.
wilting~ 8 min - 3
Mix soy sauce, sesame oil, and a pinch of white pepper into the drained filling, tasting to adjust salt before cooling completely.
Warm filling will tear delicate wrappers.
seasoning~ 2 min - 4
Whisk two tablespoons of flour with three tablespoons of water until smooth to create a thick, glue-like sealing paste.
Aim for pancake-batter consistency.
slurry~ 1 min - 5
Place a wrapper in a diamond shape, add a heaping tablespoon of filling near the bottom corner, fold tightly upward, and tuck the sides before rolling.
Do not overstuff; tight rolls prevent bursting.
rolling~ 15 minTricky bit - 6
Brush the final edge with the flour paste to secure, then place seam-side down on a parchment-lined tray and freeze for thirty minutes.
This par-freeze step locks the shape for easier frying.
par-freezing~ 30 min - 7
Heat two inches of neutral oil to three hundred fifty degrees Fahrenheit and fry the rolls until golden and blistered, turning once.
Maintain steady heat to avoid greasy results.
frying~ 6 minTricky bit - 8
Transfer the cooked rolls to a wire rack to drain excess oil before serving immediately while hot.
Paper towels will trap steam and soften the crust.
draining~ 3 min
Cooking from frozen
Fry straight from frozen at 180°C until golden and crisp, about 4–5 minutes.
Storage times are a guide — always use your judgement and store food safely.