
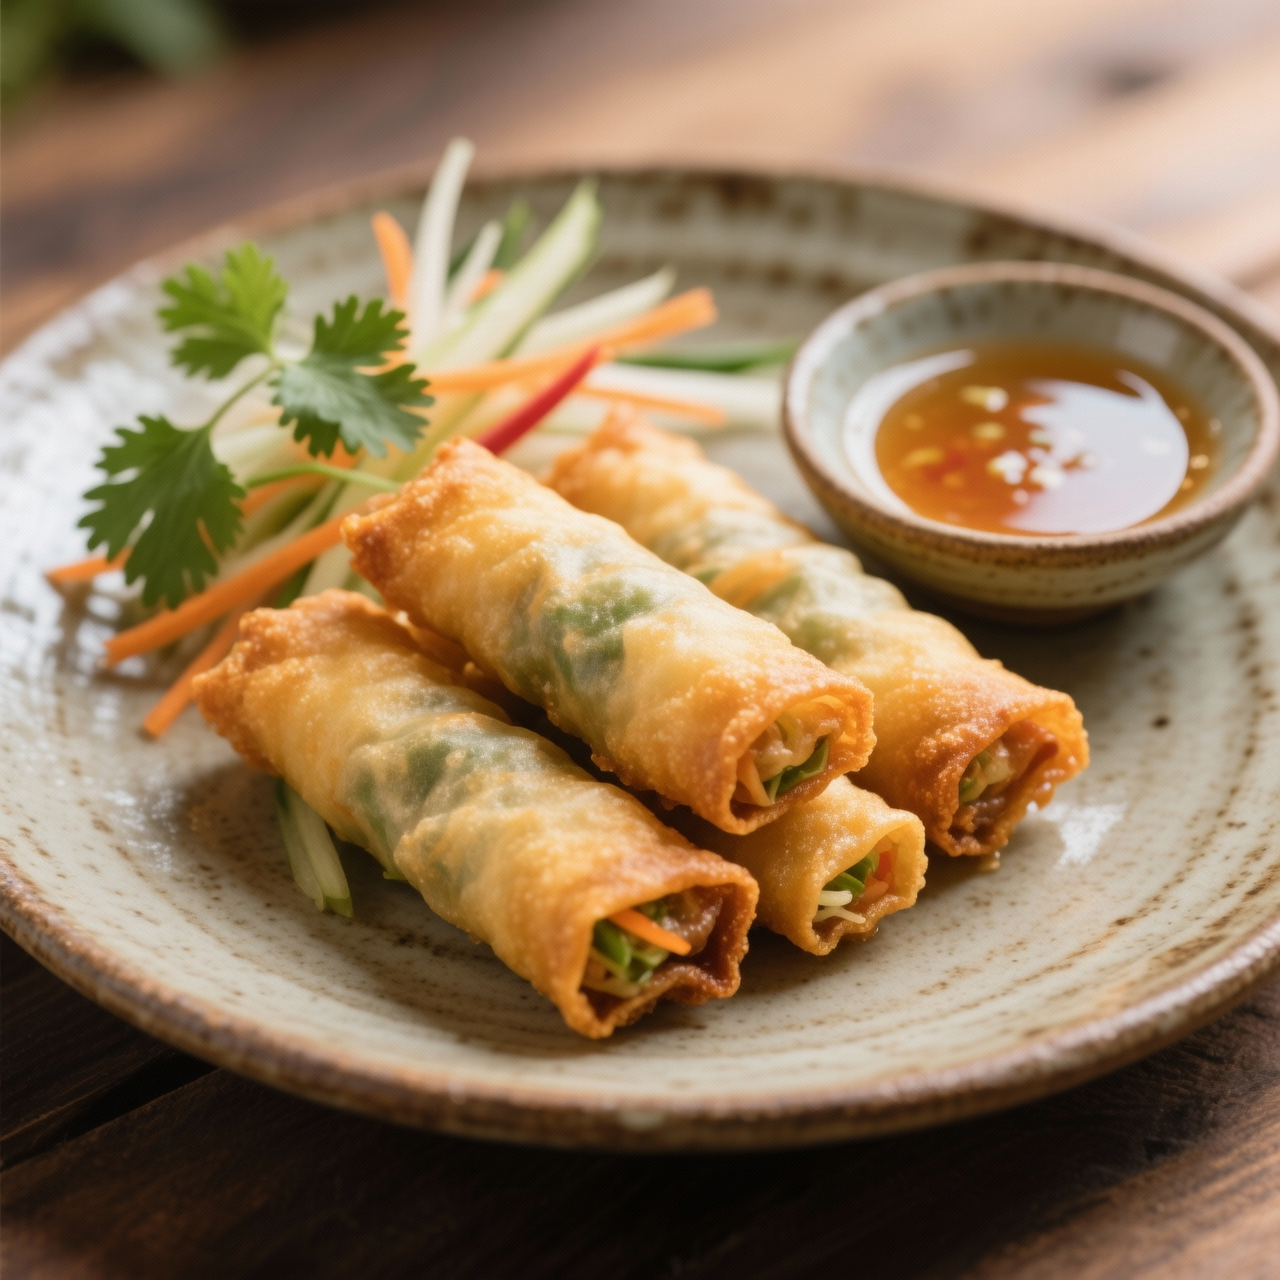
Spring Rolls (Por Pia)
When I first learned to make por pia, it wasn’t from a glossy magazine but from watching my aunt’s hands move with quiet precision over a wooden board. These delicate Thai spring rolls carry a quiet history, arriving alongside Chinese migrants centuries ago and evolving into something distinctly Thai through the use of fresh herbs, glass noodles, and earthy vegetables wrapped in translucent wheat skins. What matters most about making them yourself is reclaiming the integrity of the wrapper and the balance of the filling. Supermarket versions sit in freezers for months, costing around six pounds for a box, but they sacrifice everything: the pastry is waxy, the filling is a bland paste of rehydrated cabbage and artificial umami, and they inevitably split or turn soggy the moment you heat them. True por pia relies on nothing but real ingredients and a patient hand. The most common pitfall I see is overstuffing the wrappers, which guarantees tearing, followed by rolling them too loosely so they unravel in the oil. Another mistake is skipping the resting step after rolling; the starch needs a moment to hydrate and seal the edges properly. Frying temperature is non-negotiable—too low and they drink oil, too high and the skin scorches before the centre warms through. When you embrace the from-scratch rhythm of chopping, soaking, and folding, you end up with something that shatters at the touch of a fork, revealing steam, crunch, and clean, bright flavours. This isn’t a shortcut dish, but the ritual is deeply rewarding, and once you master the fold, you can batch them raw, stack them between parchment, and freeze them for whenever a sudden craving strikes.
Nutrition
| Per serving | Calories | Protein | Carbs | Fat | Sat fat | Fibre | Sugar | Sodium |
|---|---|---|---|---|---|---|---|---|
| beginner | 315kcal | 10g | 37g | 14g | 2g | 5g | 4g | 580mg |
| intermediate | 235kcal | 6g | 31g | 10g | 1g | 3g | 4g | 380mg |
| expert | 290kcal | 7g | 38g | 12g | 2g | 5g | 3g | 340mg |
Per serving · Ava-estimated — a guide, not a clinical figure.
- 30 sheetsSpring roll wrapper— Keep covered with a damp towel to prevent drying out during assembly
- 400 gGreen cabbage— Core removed and finely shredded
- 150 gCarrot— Peeled and julienned
- 20 gDried wood ear mushroom— Rehydrated in warm water for 20 minutes, trimmed, and finely chopped
- 60 gMung bean glass noodle— Soaked until pliable, drained well, and cut into short lengths
- 200 gFirm tofu— Pressed to remove excess moisture, crumbled, and lightly pan-fried until dry
- 15 gGarlic— Finely minced
- 30 mlLight soy sauce
- 15 mlMushroom seasoning sauce— Vegan alternative to oyster sauce
- 10 gGranulated sugar
- 2 gGround white pepper
- 60 mlNeutral vegetable oil— Divided for stir-frying filling and deep-frying
- 50 mlWater— For sealing wrapper edges
Shop-bought frozen spring rolls cost around five dollars for a dozen, but rely on cheap hydrogenated oils, excessive sodium, and thick, doughy wrappers that shatter or turn greasy when reheated. This beginner-friendly version strips away the intimidation factor while keeping everything entirely from scratch. Instead of juggling complex dipping pastes or mastering intricate pleats, you will use a forgiving, simplified folding technique that relies on a damp kitchen towel and a straightforward envelope tuck. The filling is built by gently sweating fresh cabbage, carrots, wood ear mushrooms, and tofu until tender, then seasoning with pantry staples like garlic, white pepper, and soy sauce before letting it cool completely. This cooling step is critical for crisp, leak-proof wrappers. We skip heavy fermentations and specialized tools, focusing instead on manageable prep that can be paused midway. Because these rolls freeze beautifully when assembled raw, you can line a tray, flash-freeze a double batch, and store them for quick weeknight snacks. Watch your oil temperature closely during frying, as a steady medium heat ensures a golden crust without scorching the delicate wheat skins.
Equipment
- Large mixing bowl— wide enough to cool filling quickly
- Heavy-bottomed skillet— maintains steady shallow-frying temperature
- Damp kitchen towel— prevents wrappers from drying out during assembly
- Wire cooling rack— keeps fried rolls crisp instead of steaming on plates
Method
- 1
Sauté the aromatics and chopped vegetables in neutral oil.
Cook until just wilted but still retaining a slight crunch.
sweating~ 5 min - 2
Stir in the hydrated glass noodles and seasonings.
Mix constantly until the liquid fully absorbs into the noodles.
reduction~ 3 min - 3
Spread the filling onto a large plate to cool completely.
Warm filling will tear the delicate wrappers and create steam pockets.
resting~ 10 min - 4
Set up your rolling station with wrappers and a small bowl of water.
Keep unused wrappers covered under the damp towel at all times.
mise en place~ 2 min - 5
Place a portion of filling on each wrapper and fold tightly.
Use a simple envelope fold, tucking the sides inward before rolling forward.
envelope fold~ 15 minTricky bit - 6
Shallow-fry the rolls until golden and crisp.
Maintain oil at 340°F to cook through without burning the exterior.
shallow frying~ 4 minTricky bit
Cooking from frozen
Air-fry from frozen at 190°C for 10–12 minutes until crisp and golden.
Storage times are a guide — always use your judgement and store food safely.