
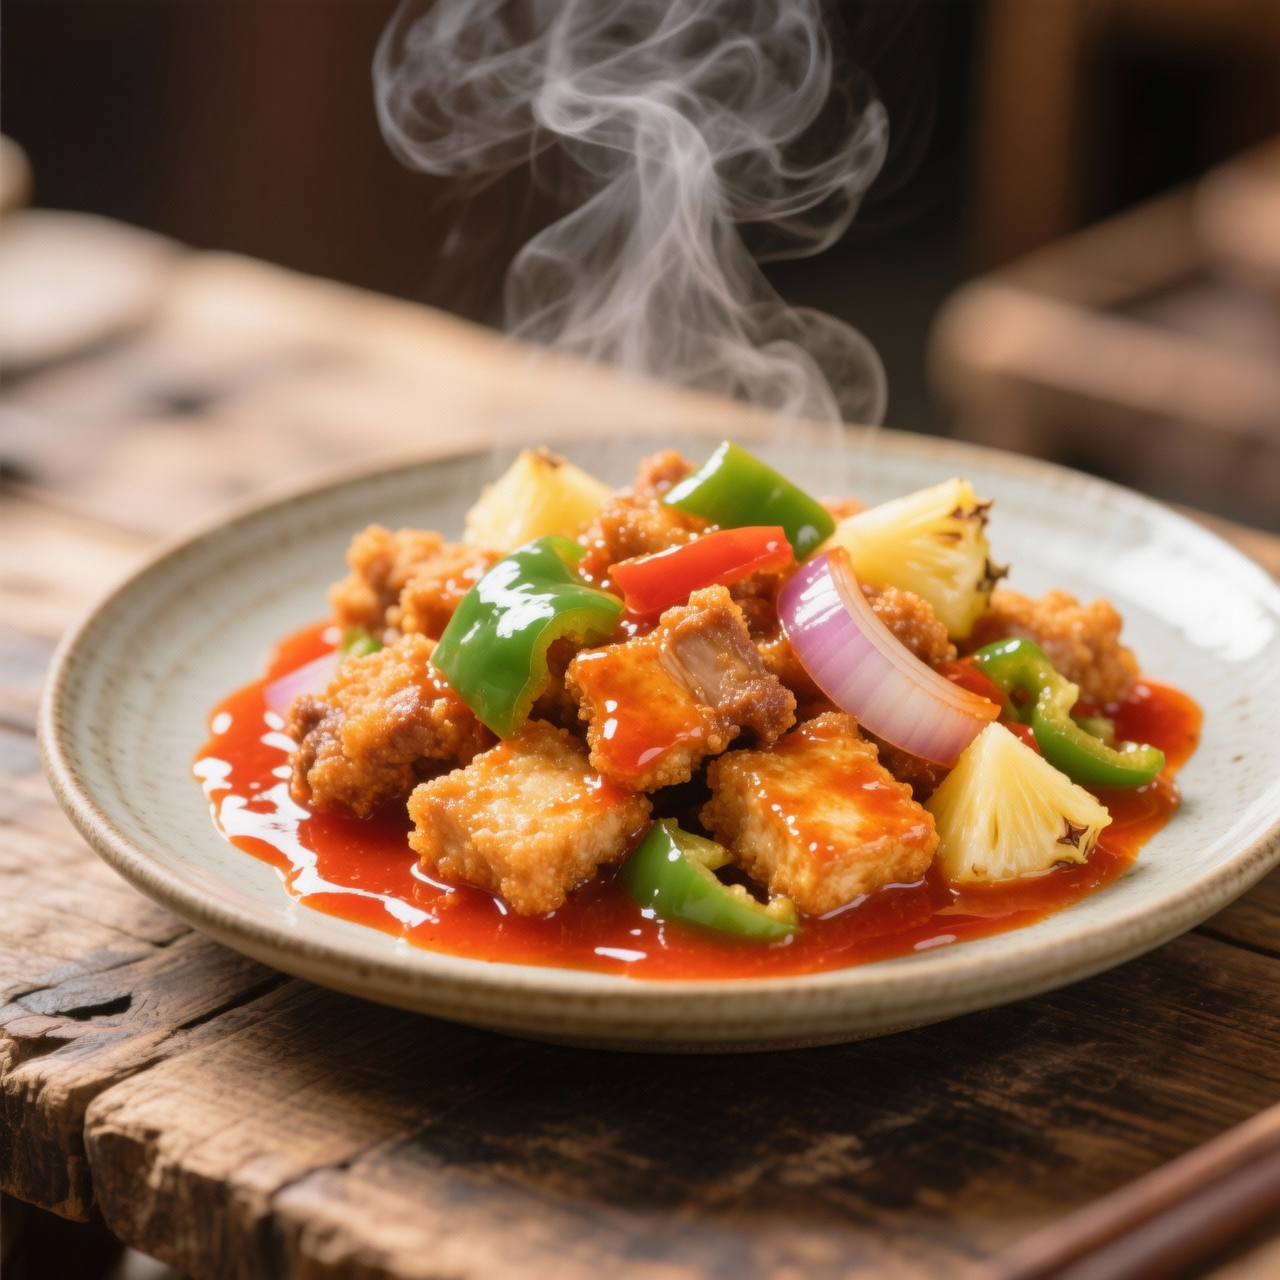
Sweet & Sour Sauce
I still remember the first time I tried to recreate the glossy, neon-red sweet and sour sauce from those ubiquitous glass bottles, and I will be honest: it tasted like chemistry class. Real Chinese sweet and sour sauce, or tangcu, has a lineage that stretches back to the Song dynasty, originally developed in Shandong and later refined in the south to balance sharp rice vinegar with unrefined cane sugar and fresh fruit. It is a dance of contrasts meant to awaken the palate, not coat your tongue in corn syrup and artificial dye. Making it from scratch matters because that balance is entirely in your control. You decide how bright the vinegar cuts, how deep the tomato notes run, and how thick the glaze clings to your vegetables or tofu. The most common pitfall I see is over-thickening with cornstarch, which turns a vibrant, glossy emulsion into a gloopy paste that masks the delicate acidity. Another is relying solely on ketchup for color and body, which flattens the nuanced tang into a one-note sweetness. I have learned to let the sauce simmer gently until it naturally reduces, whisking in just enough starch slurry at the end to achieve a satin finish that pools beautifully without clinging like glue. When you strip away the food coloring and stabilize the acid-sweet ratio with real ingredients, you are not just making a condiment. You are honoring centuries of culinary intuition that proves simplicity, when balanced correctly, always outshines the artificial.
Nutrition
| Per serving | Calories | Protein | Carbs | Fat | Sat fat | Fibre | Sugar | Sodium |
|---|---|---|---|---|---|---|---|---|
| beginner | 75kcal | 1g | 18g | 0g | 0g | 1g | 14g | 320mg |
| intermediate | 85kcal | 1g | 19g | 0g | 0g | 1g | 15g | 340mg |
| expert | 155kcal | 1g | 40g | 0g | 0g | 1g | 34g | 380mg |
Per serving · Ava-estimated — a guide, not a clinical figure.
- 240 mlpineapple juice— Use 100% pure, unsweetened juice for best flavor balance
- 60 mlrice vinegar— Unseasoned variety preferred
- 30 mllight soy sauce— Provides umami base, use tamari for gluten-free
- 50 ggranulated sugar
- 30 gtomato paste— Concentrated, check label for no added sugar
- 15 gcornstarch— Primary thickening agent
- 30 mlwater— Reserved for cornstarch slurry
- 5 gfresh ginger— Peeled and finely grated
- 10 ggarlic— Finely minced
- 15 mlneutral oil— High smoke point oil for sauteing
- 1 gdried red chili(optional)— Crushed, adjust to preferred heat level
This beginner-friendly version strips away the intimidating techniques of traditional sweet and sour sauce, focusing instead on accessible ingredients and straightforward steps that guarantee a glossy, restaurant-style finish without the artificial neon colors or preservatives. You will rely on a simple balance of pineapple juice, rice vinegar, and a touch of ketchup for that familiar tangy-sweet backbone, while cornstarch handles the thickening. The key difference here is the pacing: you will mix your wet ingredients and cornstarch separately before introducing them to gentle heat, which virtually eliminates the risk of scorching or lumpy clumps. Watch the sauce closely once it reaches a simmer, as the cornstarch activates rapidly and can over-thicken if you step away. Stir constantly with a whisk for the final minute to ensure a silky, translucent coat. If it becomes too thick, a splash of water will bring it back to life. Taste as you go; the balance should lean slightly tart before serving, as it will mellow once tossed with hot ingredients. This approach builds confidence with foundational sauce-making while delivering a bright, vibrant result in under twenty minutes.
Equipment
- Small heavy-bottomed saucepan— even heat distribution prevents hot spots and scorching
- Silicone whisk— flexible enough to scrape pan corners
Method
- 1
Whisk together the pineapple juice, rice vinegar, ketchup, and soy alternative in a mixing bowl.
Ensure the ketchup fully dissolves for even flavor distribution.
whisking~ 1 min - 2
Combine the cornstarch and cold water in a separate small dish until completely smooth.
Never add dry cornstarch directly to hot liquid to avoid instant clumps.
slurry preparation~ 1 min - 3
Pour the wet mixture into the saucepan and bring to a gentle simmer over medium heat.
Look for small, steady bubbles around the edges, not a rolling boil.
simmering~ 3 min - 4
Stir the cornstarch slurry one final time and slowly pour it into the simmering liquid while whisking constantly.
Add it gradually to control the thickening rate and avoid sudden gelling.
thickening~ 1 minTricky bit - 5
Continue whisking for sixty seconds until the sauce turns glossy and coats the back of a spoon.
Remove from heat immediately to prevent a rubbery or chalky texture.
glazing~ 1 min
Cooking from frozen
Thaw overnight in the fridge and gently reheat on the stove, whisking in a splash of water if it separates.
Storage times are a guide — always use your judgement and store food safely.