
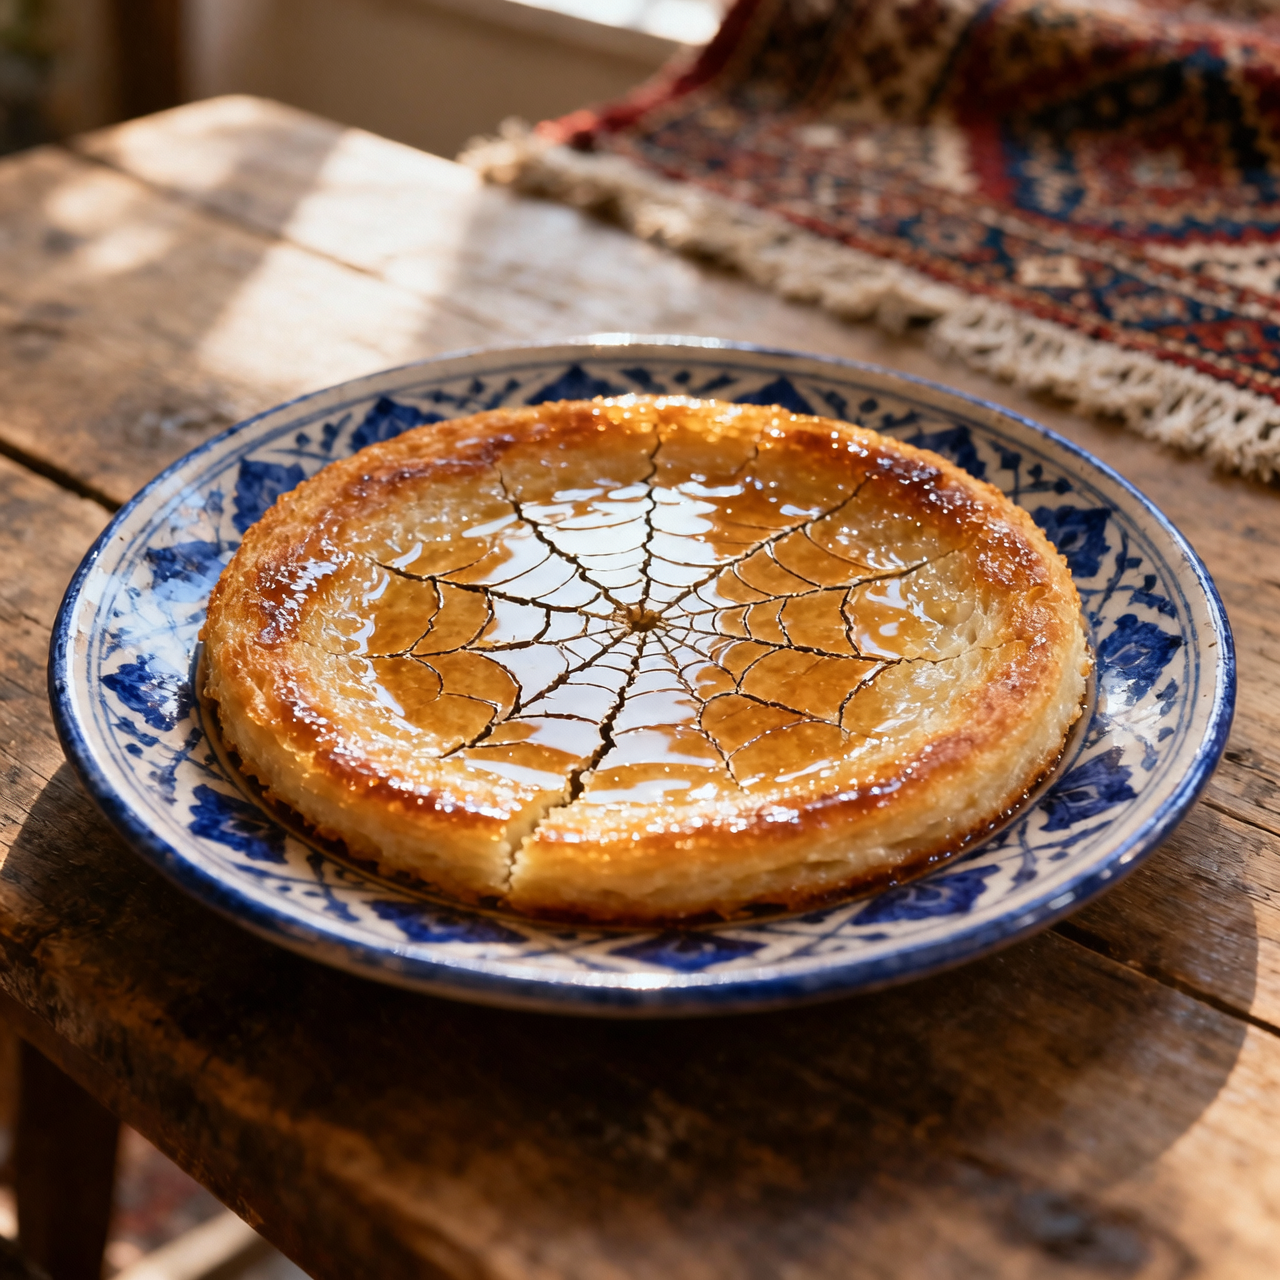
Tahdig
Tahdig is more than just the crispy crust that forms at the bottom of a Persian rice pot; it is the quiet heartbeat of our table, the piece everyone secretly hopes to claim when the lid is lifted. I grew up watching my grandmother coax this golden treasure from heavy-bottomed pots, treating it not as a byproduct, but as the crown jewel of the meal. The word itself simply means the bottom of the pot, yet in my family, it carried the weight of patience, precision, and pride. When you master tahdig, you are participating in a centuries-old ritual that transforms humble ingredients into something almost ceremonial. It matters because it teaches you to listen to the rhythm of cooking, the subtle hiss of steam, the faint crackle of oil meeting rice, and the exact moment heat must be dialed back. Too many cooks rush this process, treating it like a standard side dish rather than an art form. The most common pitfalls are entirely preventable: rinsing the rice until the water runs clear to remove excess starch, parboiling it just until tender, and never skipping the crucial step of drying the pot before adding oil. I have ruined more batches by impatiently flipping the rice too early or using thin pans that scorch instead of toast. True tahdig demands respect for low, steady heat and unwavering attention. When done right, it shatters delicately, revealing a lattice of caramelized grains that tastes like memory itself.
Nutrition
| Per serving | Calories | Protein | Carbs | Fat | Sat fat | Fibre | Sugar | Sodium |
|---|---|---|---|---|---|---|---|---|
| beginner | 475kcal | 8g | 78g | 14g | 2g | 1g | 1g | 950mg |
| intermediate | 475kcal | 8g | 78g | 14g | 2g | 1g | 1g | 950mg |
| expert | 475kcal | 8g | 78g | 14g | 2g | 1g | 1g | 950mg |
Per serving · Ava-estimated — a guide, not a clinical figure.
- 400 gbasmati rice— aged, long-grain variety
- 2000 mlwater— for boiling and rinsing
- 30 gfine sea salt— divided use
- 60 mlneutral vegetable oil— sunflower or canola
- 45 gfull-fat plain yogurt— strained consistency preferred
- 0.5 gsaffron threads— premium grade, hand-harvested
This version prioritizes confidence and consistency over tradition, making your very first attempt entirely stress-free. Instead of sourcing expensive saffron threads and grinding them yourself, we utilize a high-quality jarred saffron paste and a pre-mixed yogurt base to guarantee uniform flavor distribution without extra prep work. The critical adjustment here is the reliance on a reliable non-stick skillet, which dramatically reduces the anxiety of the final flip. You will watch for the gradual release of steam from the edges, a clear visual cue that the crust is actively forming. Keep your burner on the absolute lowest setting to prevent scorching, and resist the urge to lift the lid during the critical thirty-minute window. When it is time to unmold, place a large serving plate over the pan, use both hands, and flip decisively in one smooth motion. If the crust does not release immediately, gently tap the bottom with a wooden spoon and let it rest for two minutes. The goal is not perfection on the first try, but rather a reliable, golden foundation that proves you can absolutely achieve restaurant-quality results at home.
Equipment
- Non-stick skillet— 10-inch diameter recommended
- Fine-mesh colander— for draining rice
- Clean kitchen towel— for wrapping lid
Method
- 1
Rinse the basmati rice under cold water until the runoff is completely clear.
Removes excess surface starch.
rinsing~ 2 min - 2
Bring a large pot of salted water to a rolling boil.
Water should taste like the sea.
boiling~ 3 min - 3
Add the rinsed rice to the boiling water and parboil for exactly six minutes.
Set a timer to avoid overcooking.
parboiling~ 6 minTricky bit - 4
Drain the rice thoroughly in a fine-mesh colander and rinse immediately with cool tap water.
Stops the cooking process.
shocking~ 1 min - 5
Whisk together the neutral oil, plain yogurt, and saffron paste in a small mixing bowl.
Ensure a completely smooth emulsion.
emulsifying~ 1 min - 6
Heat the skillet over medium heat, then spread the yogurt mixture evenly across the bottom.
Creates the initial flavor base.
coating~ 2 min - 7
Gently pack the parboiled rice into the skillet, shape the top into a smooth mound, and poke five deep steam holes.
Use the handle of a wooden spoon.
mounding~ 2 min - 8
Wrap the pot lid tightly with a clean kitchen towel, place it securely on the skillet, and cook on the lowest heat setting for thirty-five minutes.
Do not peek during this phase.
steaming~ 35 minTricky bit - 9
Remove the skillet from heat, place a large flat plate upside down over it, and flip decisively in one continuous motion.
Tap gently if it sticks.
inverting~ 1 minTricky bit