
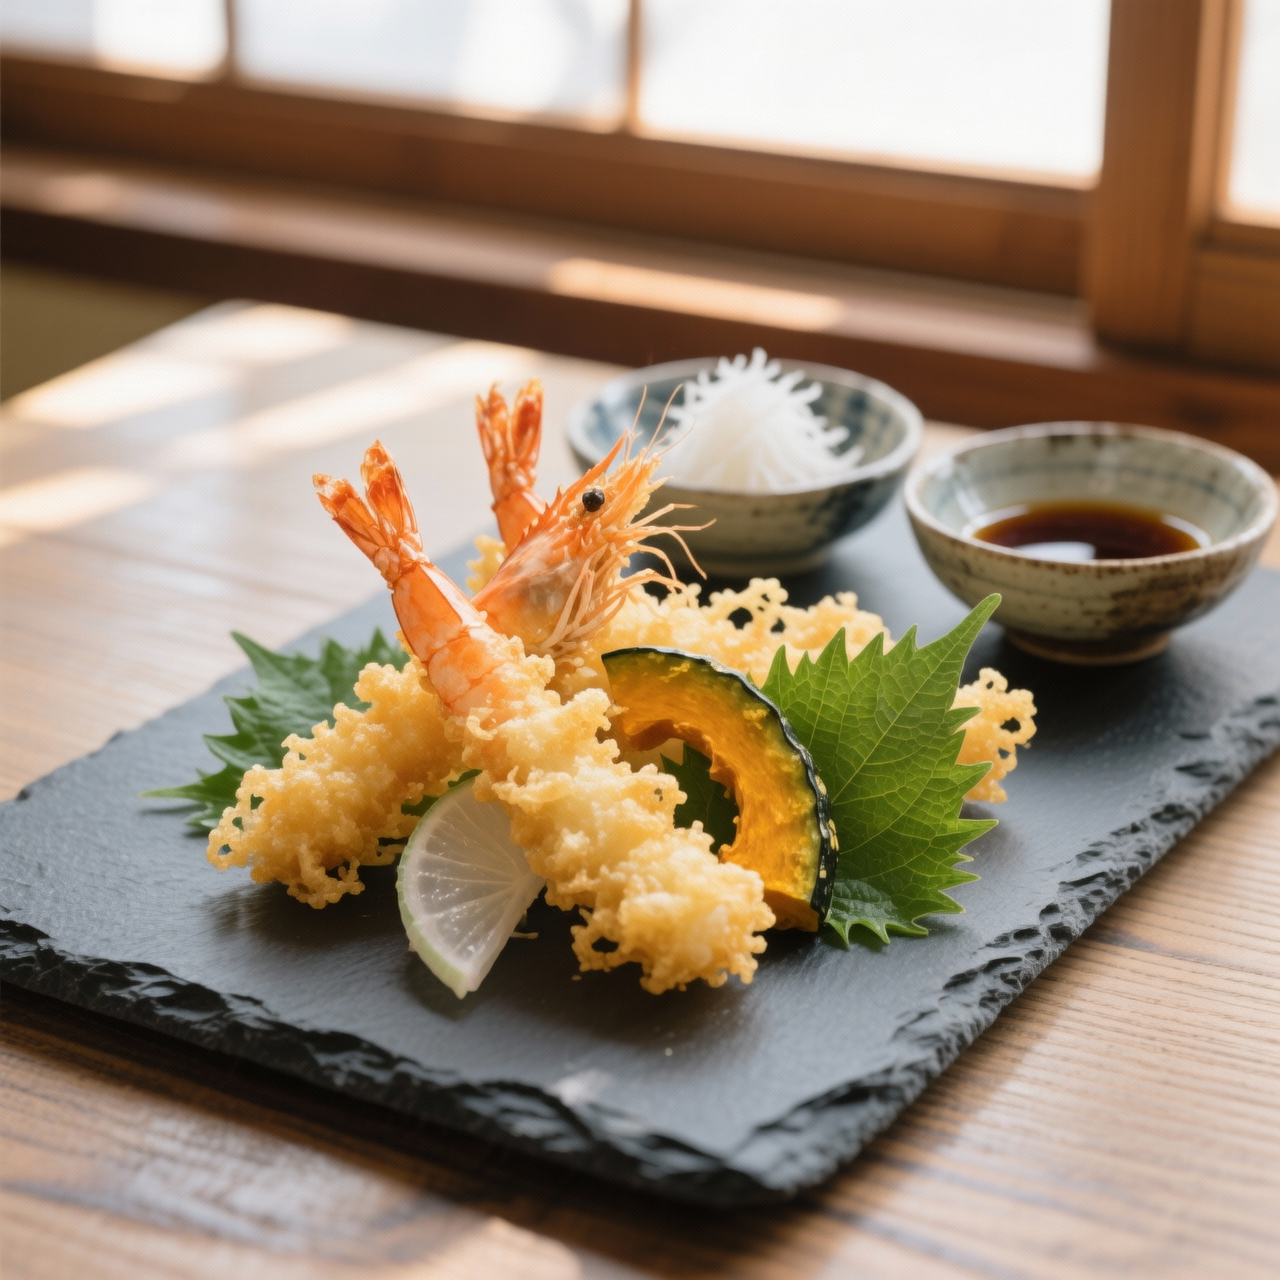
Tempura Moriawase
When I first stepped into the quiet rhythm of a tempura counter, I quickly learned that Tempura Moriawase is far more than a simple assortment of fried ingredients. Its roots trace back to sixteenth-century Portuguese missionaries who introduced a fasting-day frying technique to Japan, but it was the Edo street vendors who transformed that humble method into an art form. The term moriawase literally means to arrange together, and that is precisely what I strive for on every plate: a harmonious gathering of seasonal seafood and vegetables that respects their individual textures while celebrating their collective crispness. To me, this dish matters because it demands absolute presence. There is no hiding behind heavy sauces or complex spice blends; the integrity of each component shines through only when technique meets restraint. Yet so many home cooks stumble over the very steps that make tempura sing. I have seen countless batches ruined by overmixing the batter, which awakens the gluten and turns delicate shells into dense, breaded weights. Others panic when the oil temperature fluctuates, dropping seafood into lukewarm fat that soaks rather than sears. The most overlooked sin, however, is neglecting moisture. Even a single drop of water clinging to a prawn or eggplant will shatter the batter’s structure and leave you with a soggy, uneven crust. When I approach this dish, I treat it as a meditation on timing, temperature, and respect for the ingredient. Get those elements right, and you will hear the quiet, satisfying crackle that tells you everything is exactly as it should be.
Nutrition
| Per serving | Calories | Protein | Carbs | Fat | Sat fat | Fibre | Sugar | Sodium |
|---|---|---|---|---|---|---|---|---|
| beginner | 610kcal | 20g | 54g | 34g | 4g | 3g | 6g | 850mg |
| intermediate | 610kcal | 20g | 54g | 34g | 4g | 3g | 6g | 850mg |
| expert | 610kcal | 20g | 54g | 34g | 4g | 3g | 6g | 850mg |
Per serving · Ava-estimated — a guide, not a clinical figure.
- 200 gtiger prawn— peeled and deveined, tail intact
- 150 gkabocha squash— firm, seeds removed
- 150 gsweet potato— peeled and cut into uniform rounds
- 10 pcsshiso leaf— fresh, unwilted
- 2 largeegg— cold, freshly cracked
- 250 mlice water— near freezing
- 200 gcake flour— low-protein, unsifted
- 300 mldashi stock— clear, unseasoned
- 45 mlsoy sauce— traditional brewed
- 30 mlmirin— hon-mirin grade
- 50 gdaikon radish— finely grated, excess moisture squeezed
- 1500 mlneutral vegetable oil— high smoke point, for deep frying
This pathway is designed for your absolute first time in the fryer, prioritizing confidence over perfection. You will still use the exact same ingredients, but the technique leans heavily on reliable kitchen shortcuts. Instead of stressing over homemade dashi, you will rehydrate a high-quality instant base and let it simmer while you prep. The dipping sauce can be assembled directly from a trusted bottled tsuyu concentrate, adjusted only for balance. Your batter will be mixed by hand with a gentle, irregular rhythm, and I strongly recommend using a digital thermometer to remove the guesswork from oil management. The goal here is to achieve that signature light, airy crust without the anxiety of temperature spikes or overworked gluten. Watch the oil closely; steady, gentle bubbling is your only cue that the moisture is escaping correctly. Do not overcrowd the pan, and drain each piece immediately on a wire rack rather than paper towels to prevent steam from softening your hard work. By the end of this session, you will understand that tempura is less about complex chemistry and more about disciplined timing. Trust the process, keep your movements deliberate, and you will earn a deeply satisfying, restaurant-style result on your very first attempt.
Equipment
- Heavy-bottomed pan— non-stick is acceptable for beginners
- Digital thermometer— clip-on or instant-read
- Wire cooling rack— elevates food above steam
- Mixing bowls— two medium sizes
Method
- 1
Combine soy sauce, mirin, and dashi stock in a saucepan and heat until steaming.
Do not boil aggressively.
simmering~ 2 min - 2
Whisk egg and ice water in a bowl, then gently fold in cake flour until just combined.
Leave visible dry lumps.
folding~ 2 min - 3
Score the kabocha and sweet potato thinly to prevent curling during frying.
Use a sharp paring knife.
scoring~ 3 min - 4
Heat vegetable oil to 170°C and carefully lower the root vegetables into the pan.
Oil should ripple gently.
deep-frying~ 4 minTricky bit - 5
Fry the prawns and shiso leaves until pale gold, then drain immediately on a wire rack.
Listen for a crisp hiss.
draining~ 3 min