
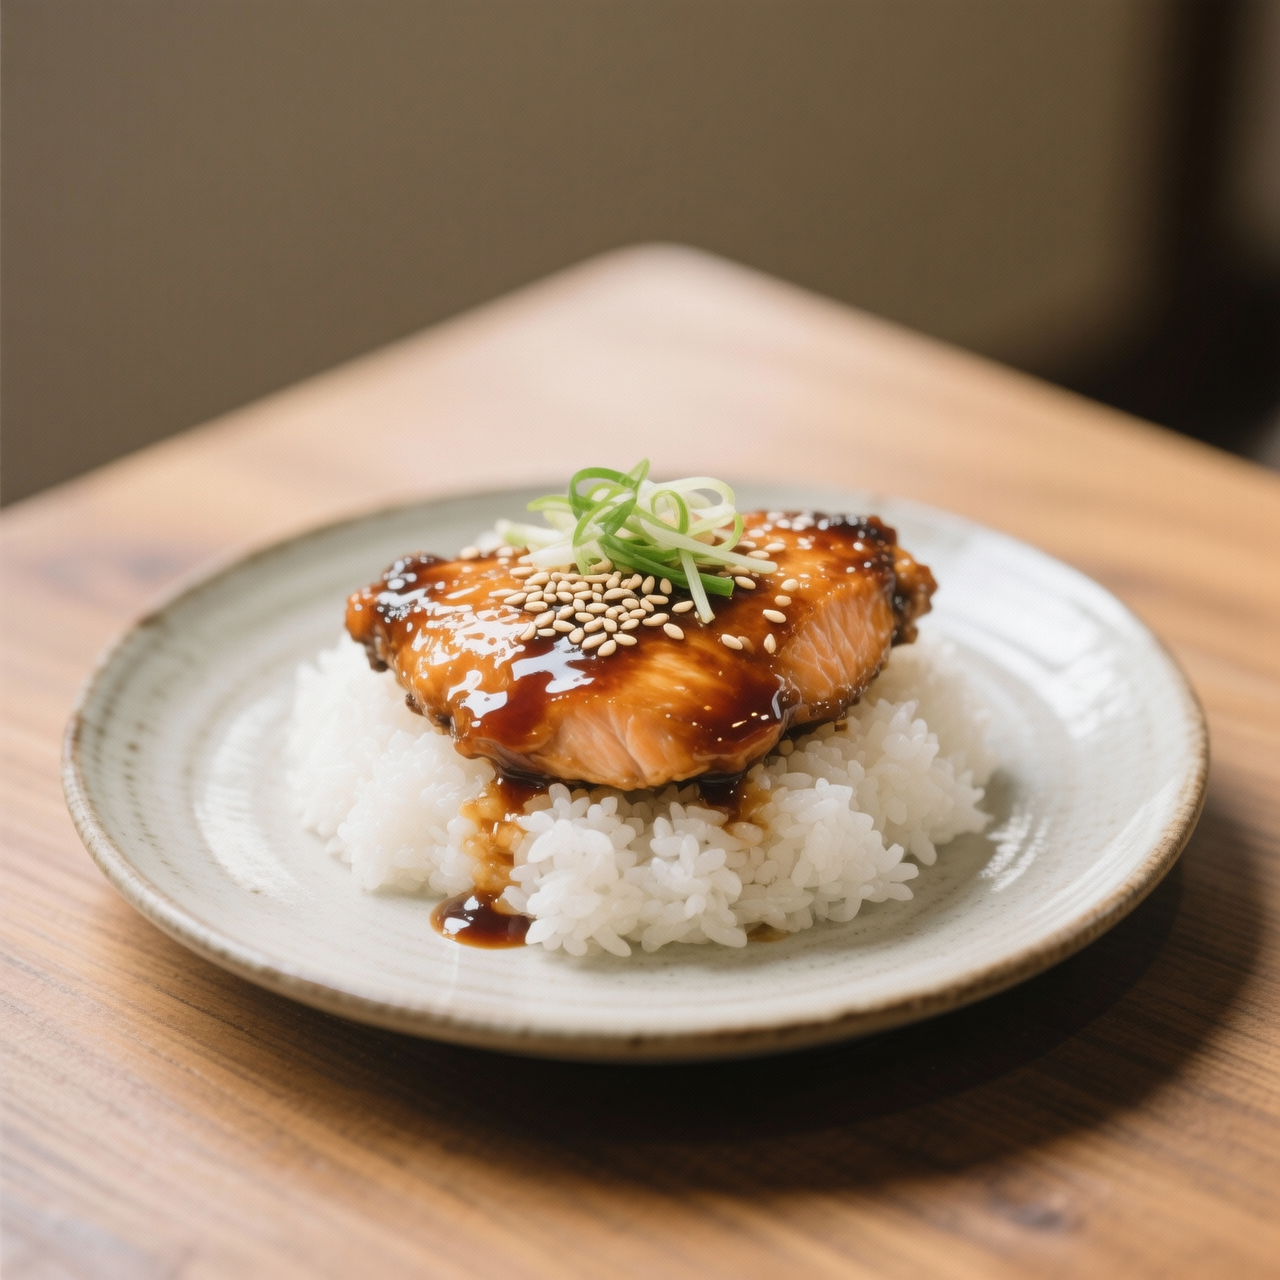
Teriyaki Sauce
I first learned the quiet magic of teriyaki not in a bustling Tokyo kitchen, but from a stained recipe card tucked inside a well-loved notebook, where a single line simply read: “balance the sweet, tame the salty, let it thicken.” The name itself is a beautiful instruction—teri meaning luster, and yaki meaning to grill or broil—capturing the exact moment a simple soy-based glaze transforms under heat into a mirror-like finish. What matters most about this sauce isn’t complexity; it’s restraint. In its traditional form, it’s a harmony of just a few elements, and when you make it at home, you strip away the thickeners, preservatives, and artificial shine of commercial bottles to reclaim something genuinely alive on the palate. I’ve spent years tweaking ratios, and the most common pitfalls always circle back to impatience. Rushing the simmer leaves you with a thin, one-dimensional liquid that slides right off your ingredients instead of clinging. Over-reducing turns it into a sticky, overly sweet syrup that scorches at the edges of a pan. The secret lies in a gentle, steady heat and the courage to step back, letting the sugars and starches naturally marry. When you finally tilt the spoon and watch that glossy ribbon fall, you know you’ve nailed it. This isn’t just a condiment; it’s a canvas. Once you’ve mastered the base, you can scale it up, bottle it, and keep a quiet arsenal in your fridge for weeknight tofu, roasted vegetables, or anything that deserves that quiet, caramelized kiss. It’s a small ritual, but one that pays off every single time you brush it on.
Nutrition
| Per serving | Calories | Protein | Carbs | Fat | Sat fat | Fibre | Sugar | Sodium |
|---|---|---|---|---|---|---|---|---|
| beginner | 68kcal | 2g | 14g | 0g | 0g | 0g | 12g | 740mg |
| intermediate | 95kcal | 2g | 21g | 0g | 0g | 0g | 15g | 780mg |
| expert | 65kcal | 2g | 14g | 1g | 0g | 0g | 11g | 780mg |
Per serving · Ava-estimated — a guide, not a clinical figure.
- 120 mlsoy sauce— Use tamari for a gluten-free alternative
- 30 mlrice vinegar— Unseasoned variety works best for balanced acidity
- 50 gbrown sugar— Can be substituted with maple syrup for a fully liquid sweetener
- 15 gfresh ginger— Peeled and finely grated
- 10 ggarlic— Finely minced or pressed
- 10 gcornstarch— Dissolved in a small amount of cold liquid before adding to prevent clumping
- 60 mlwater— Adjust gradually to reach desired glazing consistency
- 5 mltoasted sesame oil(optional)— Adds a rich, nutty finish
This beginner-friendly approach strips away traditional reduction guesswork and relies on pantry staples to deliver a reliably glossy, sweet-savory glaze every time. Instead of toasting sesame seeds from scratch or balancing complex umami broths, we use a straightforward ratio of soy sauce, mirin, and brown sugar to build instant depth. The key technique here is controlled simmering: you will gently heat the mixture just until the sugar dissolves, then thicken it with a quick cornstarch slurry. Watch the pot closely during the final two minutes, as sugary sauces can scorch rapidly over high heat. Stir constantly with a heatproof spatula to prevent sticking, and remove the pan from the burner the moment the sauce coats the back of a spoon. This method guarantees a smooth, pourable consistency perfect for brushing over vegetables, tofu, or chicken without any lumps or bitter aftertastes. Once cooled, it bottles beautifully for up to two weeks in the fridge, making it an effortless batch hero for weeknight meals.
Equipment
- Small saucepan— Non-stick or stainless steel works best for easy stirring
- Whisk— Prevents cornstarch from forming instant clumps
- Glass storage jar— Must be clean and dry for optimal shelf life
Method
- 1
Combine soy sauce, mirin, rice vinegar, and brown sugar in a small saucepan over medium-low heat.
Stir gently until the sugar completely dissolves before increasing the heat.
dissolving~ 2 min - 2
Whisk cornstarch with cold water in a separate cup until smooth, then pour the slurry into the warm sauce.
Always mix starch with cold liquid first to avoid instant lumps.
slurry~ 1 minTricky bit - 3
Simmer the mixture while whisking constantly until it thickens enough to coat the back of a spoon.
Reduce heat immediately if the edges begin to bubble aggressively.
reducing~ 3 min - 4
Remove the pan from heat and let the sauce rest for five minutes before transferring to a clean jar.
The sauce will continue to thicken slightly as it cools.
setting~ 5 min
Cooking from frozen
Thaw overnight in the refrigerator, then whisk vigorously to recombine and warm gently over low heat.
Storage times are a guide — always use your judgement and store food safely.