
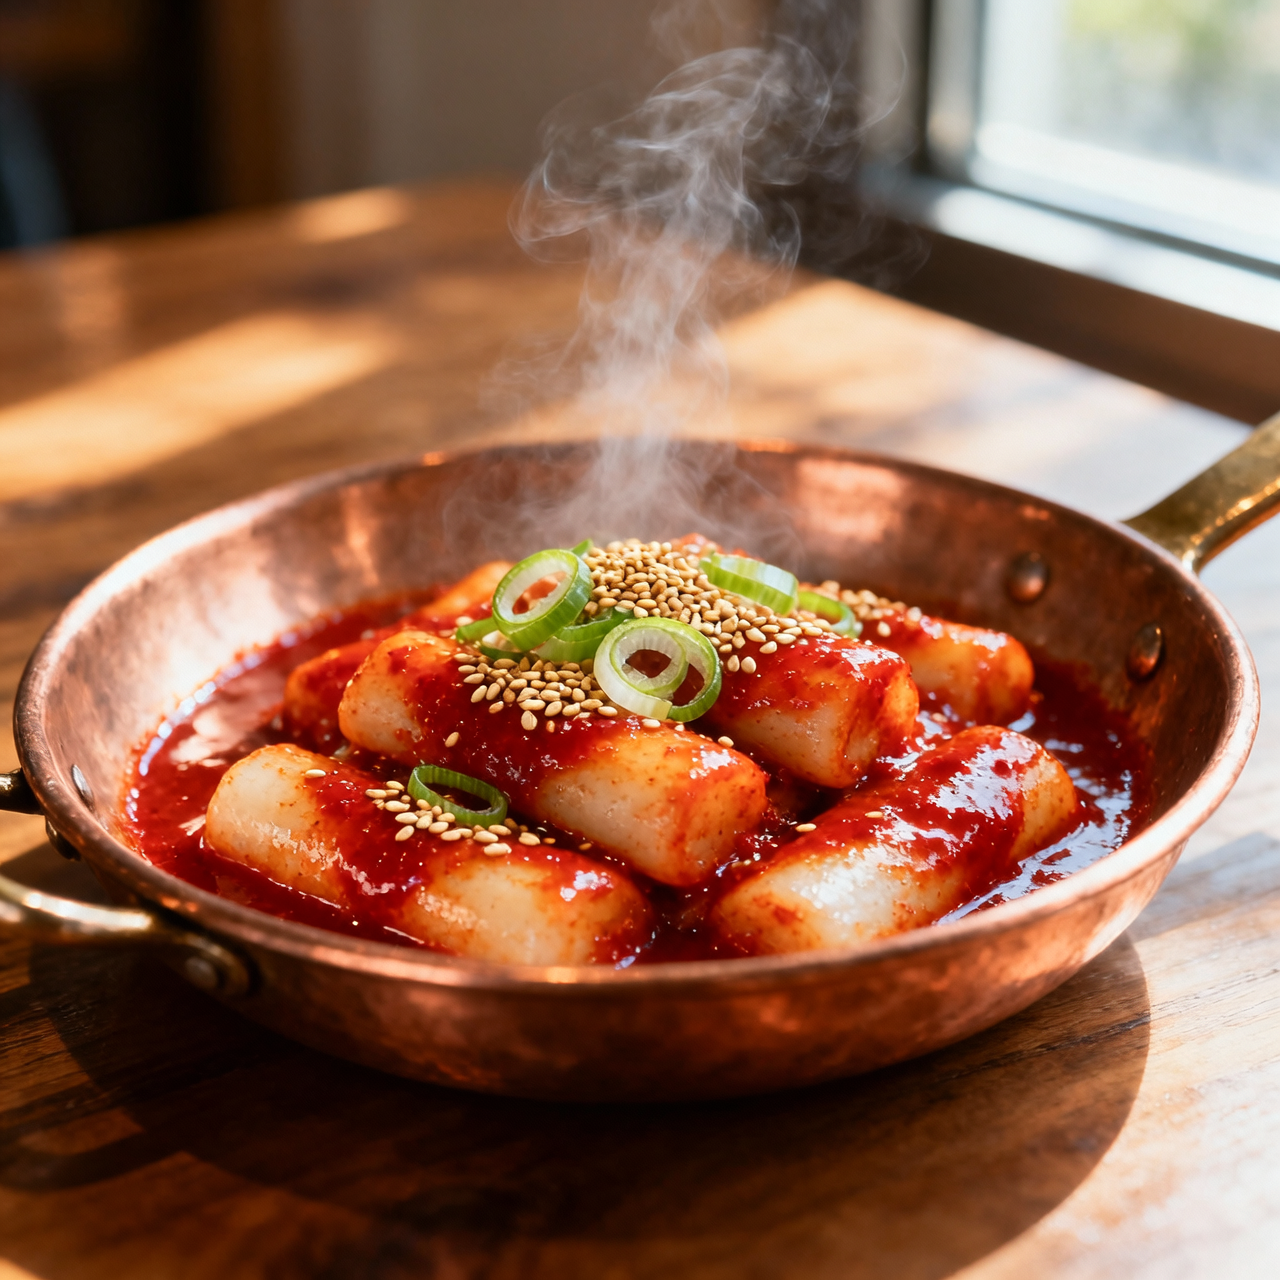
Tteokbokki
When I first encountered tteokbokki on a bustling Seoul street corner, the vibrant red broth bubbling over chewy rice cakes felt less like a simple snack and more like a cultural heartbeat. Historically, this dish traces its roots to the Joseon Dynasty, where it was originally a mild, soy-based stew enjoyed by the royal court. It wasn’t until the mid-twentieth century, when gochujang became widely accessible, that the spicy, street-vendor version we know today truly emerged. To me, tteokbokki matters because it embodies the Korean philosophy of balancing comfort and boldness in every bite, transforming humble pantry staples into something deeply communal. Yet, despite its straightforward appearance, it is surprisingly easy to misstep. The most common pitfall I see is rushing the simmer; tteokbokki demands patience. If you boil it aggressively, the rice cakes turn mushy and the sauce breaks, leaving you with a watery, uneven mess. Another frequent error is neglecting the starch-to-sauce ratio. The rice cakes naturally release starch as they cook, and you must harness that natural thickening power rather than drowning the dish in extra water or overcomplicating the broth with too many competing seasonings. When I make it, I treat the cooking process as a quiet dialogue between heat and texture, stirring gently, tasting often, and allowing the gochujang and gochugaru to meld with the rice cakes until the sauce clings like a glossy second skin. Done right, it becomes more than just a snack—it’s a warm, chewy reminder of how simplicity, when respected, yields profound flavor.
Nutrition
| Per serving | Calories | Protein | Carbs | Fat | Sat fat | Fibre | Sugar | Sodium |
|---|---|---|---|---|---|---|---|---|
| beginner | 360kcal | 6g | 73g | 4g | 1g | 3g | 11g | 650mg |
| intermediate | 360kcal | 6g | 73g | 4g | 1g | 3g | 11g | 650mg |
| expert | 360kcal | 6g | 73g | 4g | 1g | 3g | 11g | 650mg |
Per serving · Ava-estimated — a guide, not a clinical figure.
- 500 gKorean rice cake— fresh or fully thawed, cylindrical shape
- 60 gGochujang— jarred commercial or house-fermented base
- 15 gGochugaru— medium-coarse Korean chili flakes
- 15 gDoenjang— traditional fermented soybean paste
- 30 mlSoy sauce— regular or gluten-free tamari
- 30 gSugar— white granulated
- 10 gKombu— dried kelp for dashi
- 600 mlWater— cold, for simmering base
- 2 stalkScallion— green tops thinly sliced
- 10 mlSesame oil— toasted, for finishing
This version is engineered for your first confident attempt, leaning heavily on reliable jarred components to guarantee consistent results without overwhelming your workflow. The primary difference here is the assembly approach: you will use pre-measured commercial gochujang and store-bought rice cakes, bypassing any fermentation or complex broth extraction. Watch the heat carefully during the initial simmer; commercial pastes contain stabilizers that can scorch if the pan runs too dry. Stir gently but frequently to encourage a smooth, glossy emulsion rather than a clumpy texture. The goal is to understand the sauce’s behavior before it reduces, allowing you to recognize the exact moment it transitions from watery to velvety. Keep your spatula moving in wide, sweeping arcs to coat every cylinder evenly, and resist the urge to crank the flame for speed. A lower, steady heat prevents the rice cakes from bursting while giving the sugar time to dissolve completely into the chili base. You will finish with a quick splash of sesame oil and a scatter of scallions, which brightens the heavy spice without requiring advanced knife skills. Trust the visual cues over strict timers, and remember that tteokbokki is forgiving; if it thickens too quickly, a few tablespoons of water will rescue it instantly.
Equipment
- Wide non-stick skillet— 12-inch diameter recommended
- Silicone spatula— heat-resistant for continuous stirring
- Measuring spoons— for accurate paste ratios
Method
- 1
Pour cold water and kombu into a wide skillet and bring to a gentle simmer over medium heat.
Remove kombu just before bubbles form.
steeping~ 5 min - 2
Whisk together gochujang, doenjang, soy sauce, and sugar in a small bowl until completely smooth.
No lumps should remain.
emulsifying~ 1 min - 3
Slide the rice cakes into the hot broth and stir gently to submerge.
Keep cakes moving to prevent sticking.
poaching~ 2 min - 4
Add the whisked sauce mixture and stir continuously until the liquid thickens.
Watch for a glossy sheen.
reducing~ 8 minTricky bit - 5
Sprinkle gochugaru evenly over the surface and fold into the sauce.
Add gradually to control heat.
blooming~ 1 min - 6
Remove from heat, drizzle sesame oil over the top, and garnish with sliced scallions.
Serve immediately while hot.
finishing~ 1 min