
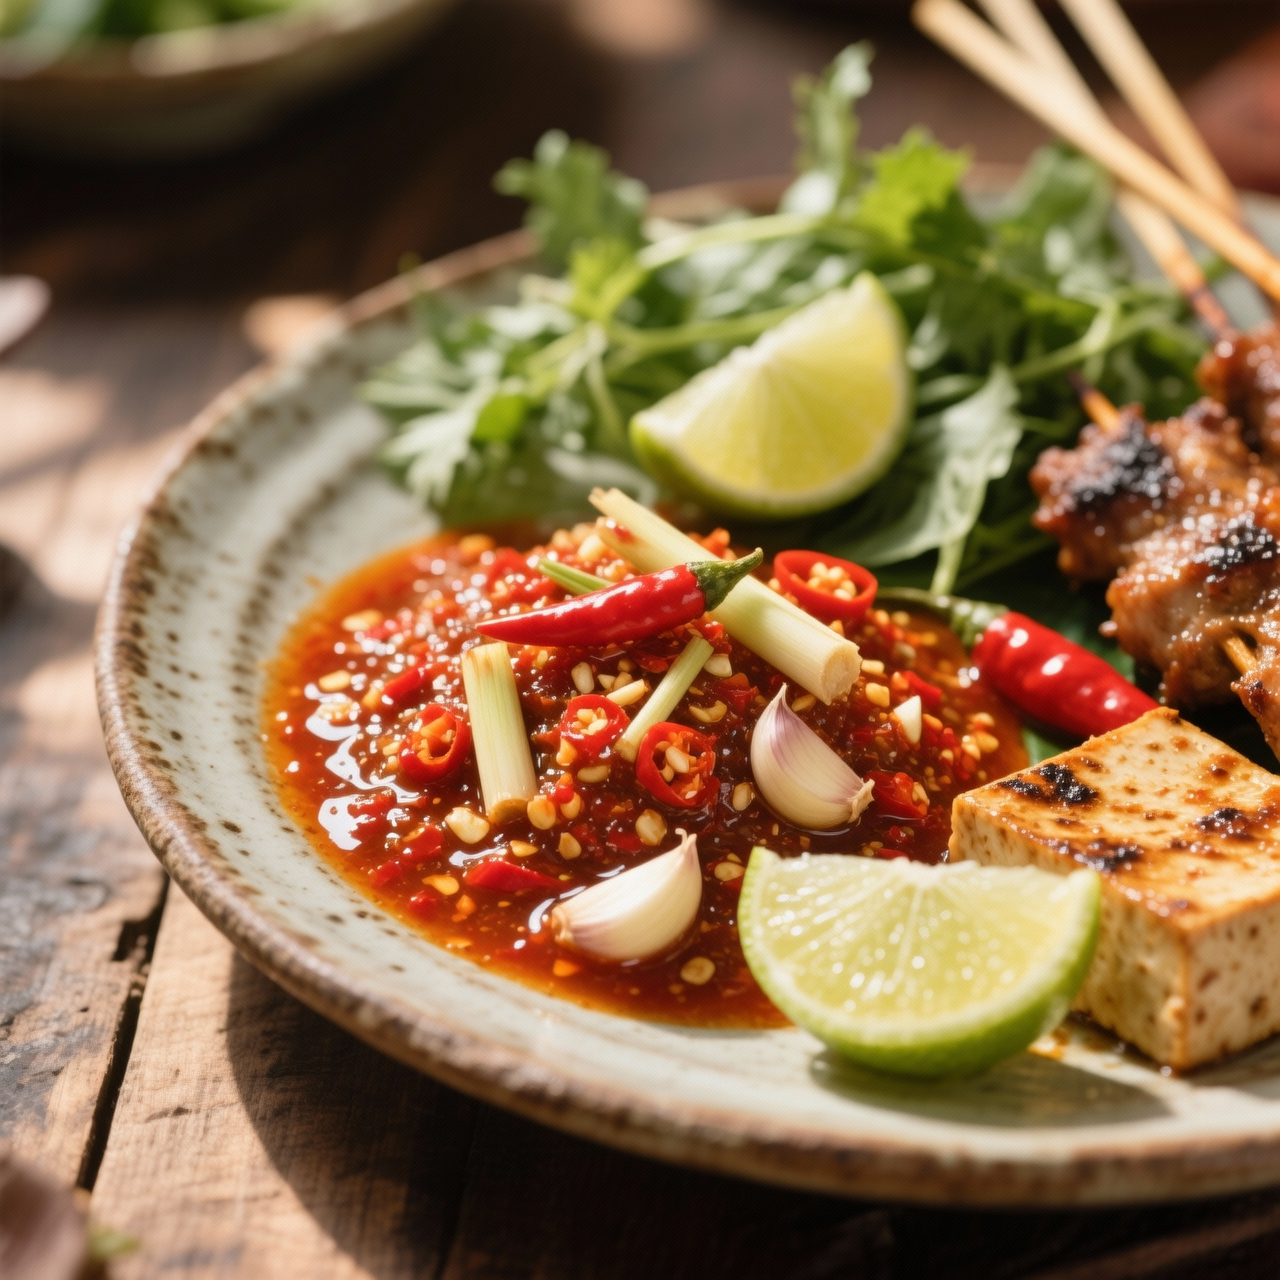
Vietnamese Satay Chilli (Sa Te)
I first encountered Vietnamese satay chilli in a cramped kitchen in Cholon, where the air hung heavy with toasted annatto, garlic, and the sharp, grassy perfume of bruised lemongrass. Known locally as sa tế, this vibrant oil isn’t the Malaysian or Indonesian version you might expect; it’s a distinctly Vietnamese condiment born from centuries of culinary cross-pollination along the Mekong Delta and Chinese trade routes. What makes it essential to my pantry is its dual nature: it’s both a finishing oil and a cooking base, capable of waking up a simple bowl of phở, elevating grilled seafood, or stirring life into leftover rice. Yet, so many home cooks miss the mark by rushing the process. The most common pitfall is scorching the aromatics. If the oil is too hot when the shallots and garlic hit the pan, they’ll turn bitter before they ever release their sweetness. You have to coax the flavours out over low, steady heat, letting the lemongrass fibres slowly infuse the fat until it takes on that signature deep crimson hue. Another mistake is skipping the resting period; the chilli flakes and spices need time to bloom in the cooled oil, allowing the flavours to marry into something cohesive rather than separated and harsh. When done patiently, sa tế becomes more than a sauce—it becomes a liquid archive of Vietnamese street food culture, capturing the bold, balanced heat that defines our regional palate. I always make sure to strain out the heavy solids once they’ve surrendered their essence, leaving behind a brilliantly clear, deeply fragrant oil that jars beautifully and travels well through every dish I touch.
Nutrition
| Per serving | Calories | Protein | Carbs | Fat | Sat fat | Fibre | Sugar | Sodium |
|---|---|---|---|---|---|---|---|---|
| beginner | 140kcal | 1g | 3g | 14g | 2g | 1g | 1g | 210mg |
| intermediate | 165kcal | 1g | 5g | 17g | 3g | 1g | 3g | 310mg |
| expert | 380kcal | 2g | 6g | 40g | 3g | 2g | 1g | 150mg |
Per serving · Ava-estimated — a guide, not a clinical figure.
- 500 mlneutral oil— Peanut, sunflower, or vegetable oil work well
- 100 gdried red chili— Crushed into flakes, seeds retained for heat
- 150 gfresh red chili— Finely chopped, seeds removed for milder heat
- 100 glemongrass— Tender inner core only, finely minced
- 80 ggarlic— Peeled and finely minced
- 80 gshallot— Peeled and finely minced
- 30 gannatto seed— Provides traditional red color, can be strained out after infusing
- 50 gsugar— White or brown sugar
- 15 gsalt— Fine sea salt or table salt
- 2 wholestar anise(optional)— For aromatic depth
- 1 piececinnamon stick(optional)— Approximately 5 cm long
This beginner-friendly version removes the guesswork by relying on high-quality jarred chilli-lemongrass paste and pre-measured spice blends, so you can focus entirely on mastering the oil infusion technique. The goal here is a confident first attempt without the fuss of grinding fresh aromatics or balancing complex ratios from scratch. You will gently warm neutral oil before slowly introducing your prepared chilli base, keeping the heat low to prevent scorching. Watch closely as the mixture transitions from a rapid, lively bubble to a quiet, steady simmer; this visual cue tells you the moisture has evaporated and the oil is safely preserving the chillies. Stir constantly during the first few minutes to distribute heat evenly, then step back and let it infuse undisturbed. Because this method skips traditional mortar-and-pestle prep, your total time drops significantly while still delivering that signature fragrant, glossy finish. The result is a deeply aromatic condiment that layers beautifully over noodles, grilled meats, or steamed vegetables. Once cooled, simply transfer it to clean jars and refrigerate for up to three months.
Equipment
- Heavy-bottomed saucepan— even heat distribution prevents scorching
- Heat-resistant silicone spatula— ideal for constant stirring without scratching
- Glass storage jars with tight lids— must be sterilized and completely bone dry
- Kitchen thermometer(optional)— useful for keeping oil below 120C/250F
Method
- 1
Sterilize your glass jars and lids in boiling water for ten minutes.
Air dry completely on a clean rack; any moisture will spoil the oil.
sanitizing~ 10 min - 2
Pour neutral vegetable oil into a heavy-bottomed saucepan over medium-low heat.
Do not use olive oil or butter, as their low smoke points will burn.
heating~ 3 min - 3
Add the jarred lemongrass chilli paste and stir continuously until fragrant.
Keep the oil temperature gentle to avoid turning the chillies bitter.
blooming~ 2 minTricky bit - 4
Sprinkle in the remaining dried chilli flakes and ground spices, then immediately remove the pan from the burner.
The residual heat will finish toasting the delicate spices safely.
carryover cooking~ 1 min - 5
Let the infused oil rest undisturbed at room temperature for fifteen minutes.
Watch for the bubbling to completely stop before transferring.
steeping~ 15 min - 6
Carefully funnel the cooled mixture into your prepared jars and seal tightly.
Label each jar with the preparation date for food safety tracking.
preserving~ 5 min
Cooking from frozen
Thaw overnight in the refrigerator and whisk briefly to recombine the separated oil before using.
Storage times are a guide — always use your judgement and store food safely.