
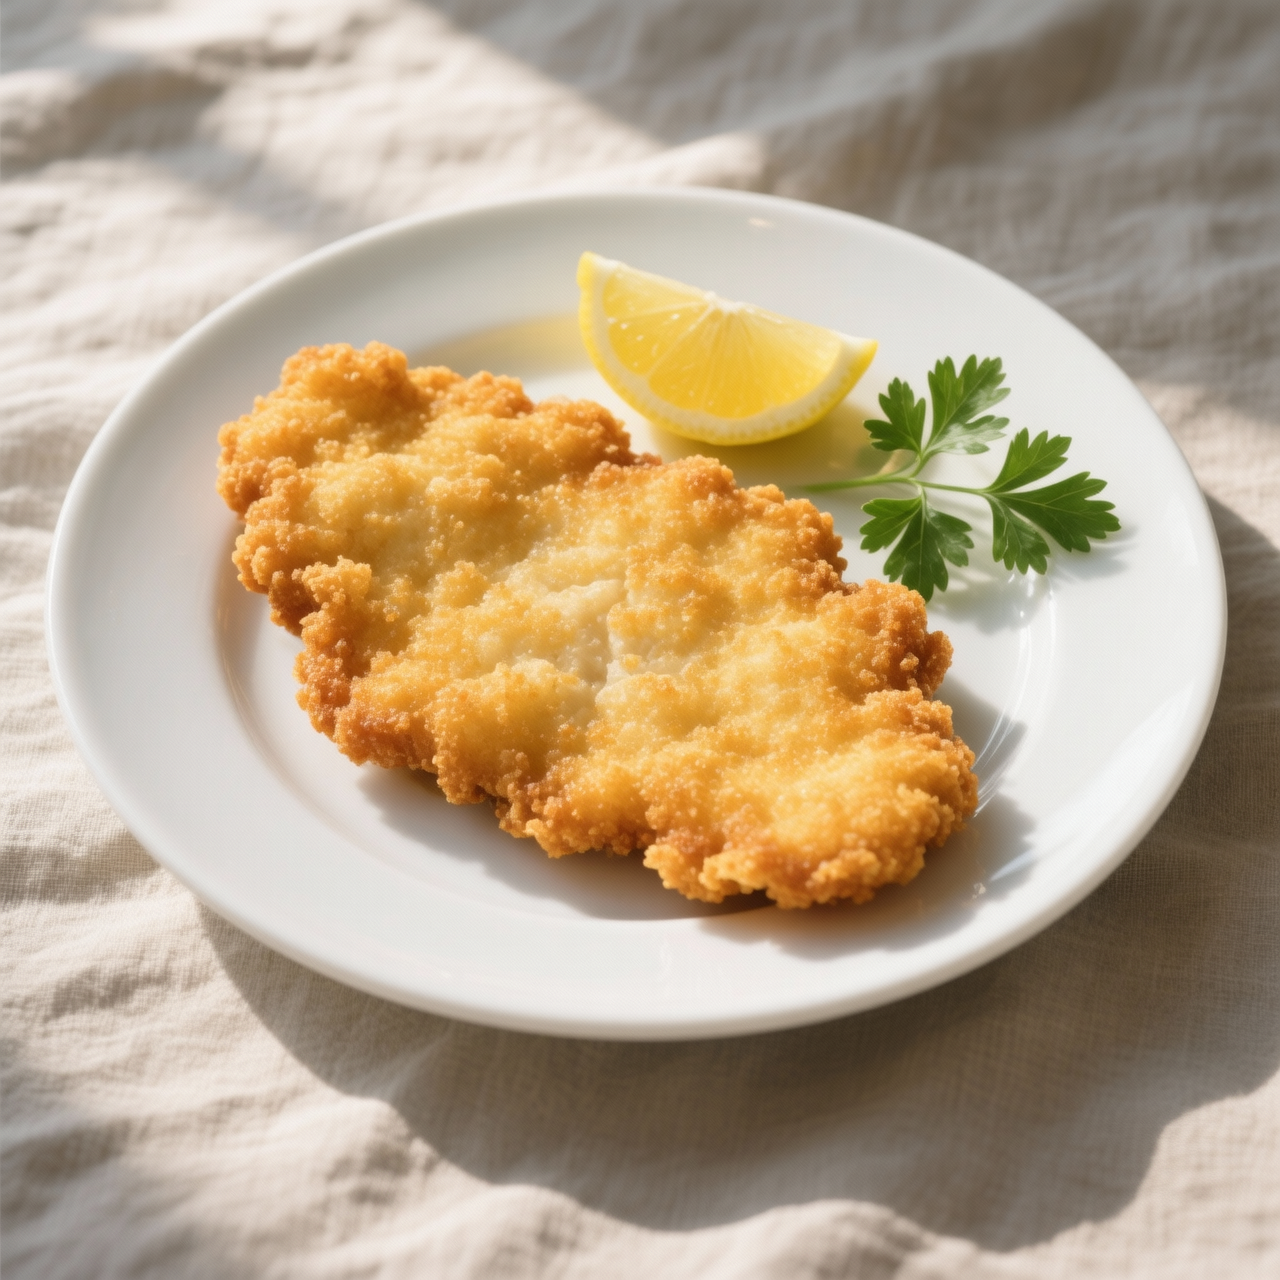
Wiener Schnitzel
I have always believed that a true Wiener Schnitzel is less about the meat itself and more about the quiet discipline of the process. Originating in the grand kitchens of nineteenth-century Vienna, though its roots arguably stretch back to the breaded cutlets of Milan, this dish became a cultural touchstone for the Austro-Hungarian empire. To me, it represents a beautiful intersection of peasant frugality and imperial refinement, where a humble veal cutlet is transformed into something almost architectural. What makes it so deeply meaningful is its uncompromising simplicity; there are no heavy sauces or complex spice blends to hide behind. You are left with nothing but the quality of your ingredients and your own patience. The most common pitfall I see in modern kitchens is the rushed, heavy-handed approach to breading. Cooks often press the flour, egg, and breadcrumbs too aggressively into the meat, sealing it tight and preventing that signature soufflé effect where the crust lifts away from the tender center. Others neglect the resting period, causing the breading to slide right off in the hot oil, or worse, they use pork and still dare to call it a true Wiener Schnitzel, which is legally and culinarily a sin in Austria. Temperature control is equally unforgiving; too cool, and the cutlet drinks the fat, becoming a greasy disappointment, while too hot will scorch the delicate crust before the meat cooks through. When done correctly, however, it sings as a golden, undulating masterpiece that demands nothing but a squeeze of fresh lemon and a quiet moment at the table.
Nutrition
| Per serving | Calories | Protein | Carbs | Fat | Sat fat | Fibre | Sugar | Sodium |
|---|---|---|---|---|---|---|---|---|
| beginner | 880kcal | 56g | 68g | 40g | 13g | 4g | 4g | 1850mg |
| intermediate | 880kcal | 56g | 68g | 40g | 13g | 4g | 4g | 1850mg |
| expert | 880kcal | 56g | 68g | 40g | 13g | 4g | 4g | 1850mg |
Per serving · Ava-estimated — a guide, not a clinical figure.
- 800 gveal cutlet— top round or leg, boneless and trimmed
- 150 gall-purpose flour— sifted
- 3 largeegg— room temperature
- 200 gbreadcrumb— dry and finely ground
- 500 mlneutral frying oil— high smoke point
- 50 gunsalted butter— for finishing
- 2 wholelemon— cut into wedges
- 15 gsea salt— fine grind
- 5 gblack pepper— freshly cracked
- 10 gflat-leaf parsley(optional)— chopped for garnish
This version prioritizes confidence and consistency over tradition. You will use a pre-mixed breading blend to eliminate the separate dredging stations, and rely on a digital thermometer to guarantee perfect oil temperature without guesswork. The meat is lightly tenderized with a rolling pin instead of a heavy mallet, which prevents tearing for first-timers. Watch the oil temperature closely; if it drops below 170°C, the cutlet will absorb fat and become soggy rather than puffing into that signature golden dome. Flip only once, and resist the urge to press down on the crust. I recommend using a splatter screen to keep your stovetop clean while you learn the rhythm of the fry. The goal here is not perfection, but a reliably crisp, evenly cooked result that proves you can handle the fundamentals without intimidation. Keep your workspace organized, dry the veal thoroughly before seasoning, and let the cutlets rest on a wire rack after frying so steam does not soften the crust. You will finish with a simple squeeze of lemon, allowing you to taste exactly how far a straightforward, well-executed technique can take you.
Equipment
- digital instant-read thermometer— essential for oil monitoring
- heavy-bottomed skillet— cast iron or stainless steel
- wire cooling rack— prevents sogginess
- splatter screen(optional)— highly recommended
Method
- 1
Pat the veal cutlets completely dry with paper towels.
Moisture prevents the coating from adhering properly.
drying~ 1 min - 2
Place the cutlets between two sheets of parchment paper and pound them to an even thickness using a rolling pin.
Aim for roughly three millimeters.
mechanical tenderization~ 2 min - 3
Season both sides generously with sea salt and black pepper.
Do this right before coating.
seasoning~ 1 min - 4
Press each cutlet firmly into the pre-mixed breading until fully coated on both sides.
Shake off excess crumbs gently.
dredging~ 2 min - 5
Heat the neutral frying oil in the heavy skillet to exactly 175°C.
Use your thermometer to verify before adding meat.
temperature calibration~ 5 minTricky bit - 6
Lay two breaded cutlets into the hot oil without overcrowding.
The oil should bubble immediately but not smoke.
shallow frying~ 3 minTricky bit - 7
Flip the cutlets once when the edges turn deep golden brown.
Cook until the second side matches the first.
flipping~ 3 min - 8
Transfer the finished schnitzels to a wire rack to rest for two minutes.
Avoid stacking to maintain crispness.
draining~ 2 min