
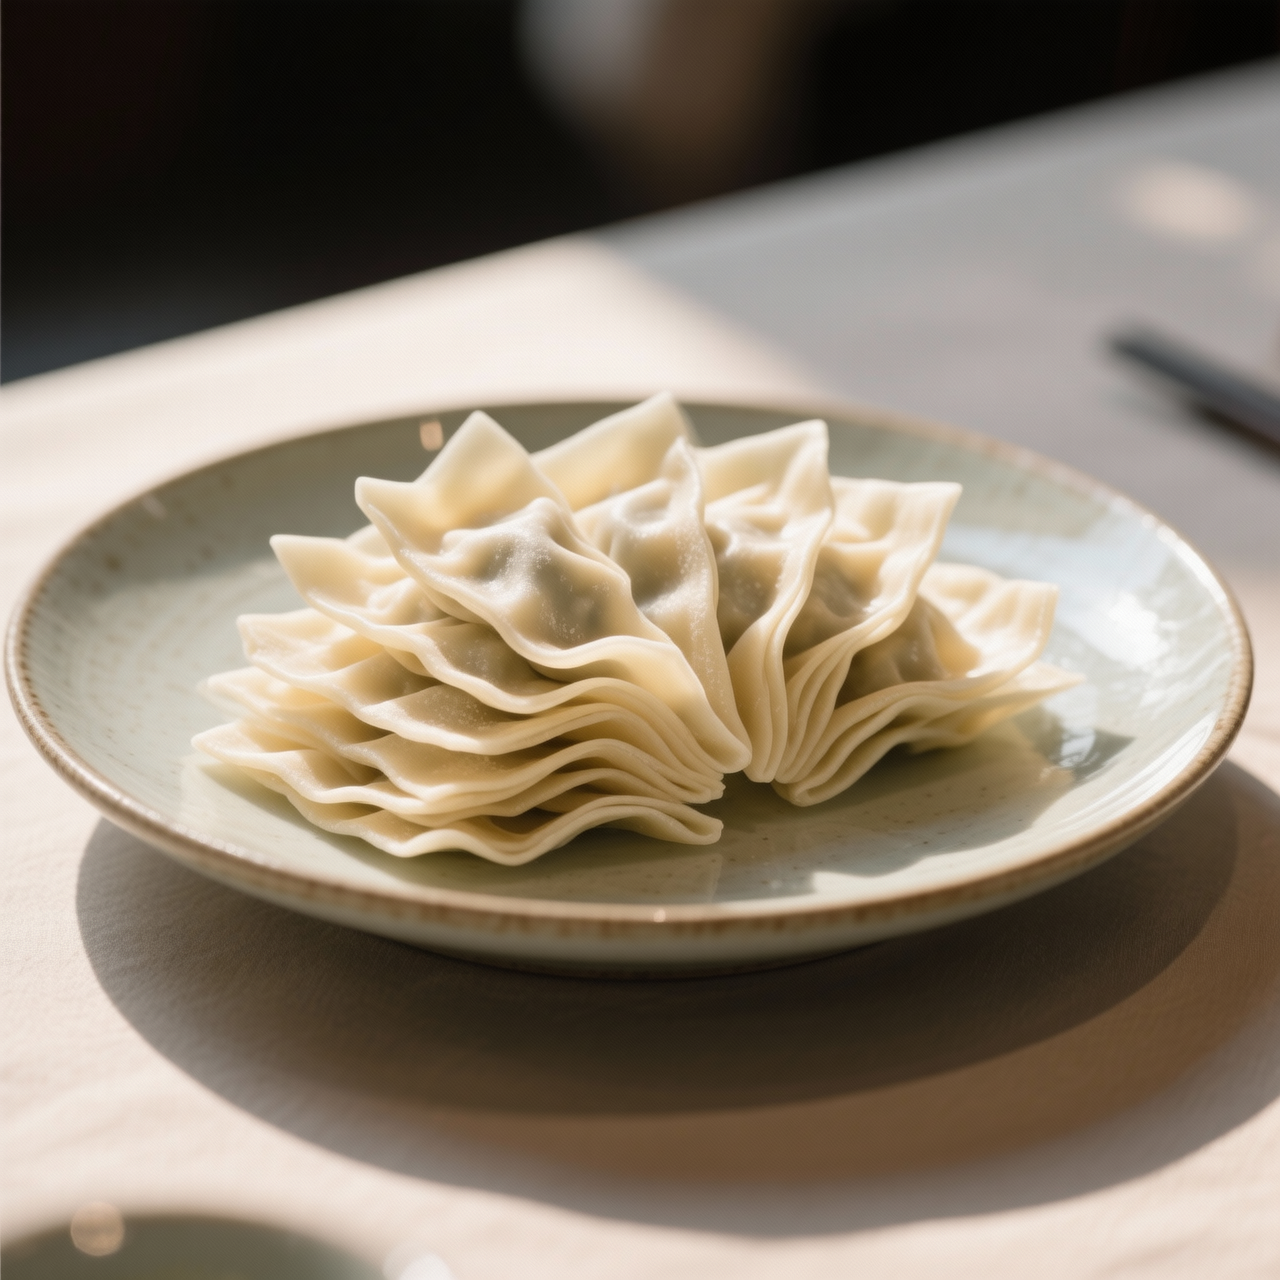
Wonton Wrappers
I remember the first time I tried to fold dumplings, the store-bought wrappers tore at the slightest pinch, leaving me with a sad, gummy mess that tasted faintly of plastic. Those supermarket packets, usually hovering around three dollars for a flimsy stack, are engineered for shelf life rather than soul. They dry out, crack, and completely lack the delicate, silky bite that defines a proper Chinese kitchen. Making your own wonton wrappers is surprisingly straightforward, yet it remains a lost art in many modern homes. The tradition stretches back centuries across China, where dough made from just flour, water, and a pinch of salt was rolled paper-thin by hand, creating a seamless pocket that holds both broth and filling without disintegrating. I believe mastering this dough matters because it transforms a quick weeknight meal into something genuinely restaurant-quality, and it gives you complete control over texture and thickness. The most common pitfalls I see are overworking the gluten, which turns supple dough into tough rubber, and skipping the crucial resting period that lets the strands relax before you tackle the rolling pin. Many cooks also rush the dusting step, using too much cornstarch and turning their delicate sheets into brittle, chalky tiles, or they fail to separate them properly before freezing. When you embrace the rhythm of resting, rolling, and stacking with just enough dust to keep things apart, you unlock a pantry staple that will outshine any plastic-wrapped alternative. Once you feel that elastic, translucent dough beneath your palms, you will never reach for the pre-packaged aisle again.
Nutrition
| Per serving | Calories | Protein | Carbs | Fat | Sat fat | Fibre | Sugar | Sodium |
|---|---|---|---|---|---|---|---|---|
| beginner | 260kcal | 8g | 51g | 2g | 1g | 2g | 1g | 290mg |
| intermediate | 230kcal | 7g | 46g | 2g | 0g | 2g | 0g | 480mg |
| expert | 222kcal | 6g | 45g | 1g | 0g | 2g | 0g | 420mg |
Per serving · Ava-estimated — a guide, not a clinical figure.
- 200 gall-purpose flour— Sifted for even hydration
- 100 mlwater— Room temperature
- 2 gsalt— Fine grain to strengthen gluten network
- 50 gcornstarch— Used for dusting and preventing layers from sticking
This beginner-friendly approach strips away the intimidation of hand-pulled dough by using a forgiving, straightforward mix that requires minimal kneading and a single short resting period. Unlike store-bought wrappers, which often cost over five dollars for a flimsy pack, contain unrecognizable preservatives, and tear the moment they hit boiling water, this from-scratch version uses just four pantry staples to yield pliable, resilient skins. The key difference here is the 'rest-and-roll' method: you will mix a soft dough, let it relax on the counter for twenty minutes, then roll and cut without fighting stubborn elasticity. Watch your hydration closely; if the dough cracks at the edges during rolling, add water one teaspoon at a time. When rolling, use light, even pressure and rotate the dough frequently to prevent thin spots. Lightly dust each finished square with cornstarch before stacking, as this prevents them from fusing together during freezing. This method is intentionally forgiving, allowing you to focus on achieving a consistent quarter-inch thickness without worrying about perfect geometric precision. Once cut, these wrappers can be used immediately or flash-frozen in neat stacks for future dumplings or soups.
Equipment
- Large mixing bowl— stainless steel or glass preferred
- Rolling pin— wooden or tapered works best
- Sharp chef knife or pizza wheel— for clean, straight cuts
- Damp kitchen towel— essential to prevent drying during rest
Method
- 1
Combine two cups of all-purpose flour and half a teaspoon of salt in a large mixing bowl.
Whisk dry ingredients thoroughly before adding liquids.
mise en place~ 1 min - 2
Gradually pour in half a cup of lukewarm water and one beaten egg while stirring with a fork until a shaggy mass forms.
Add water one tablespoon at a time if the mixture looks too dry.
hydration~ 2 min - 3
Turn the dough onto a clean surface and knead firmly for five minutes until it becomes smooth and slightly elastic.
The dough should spring back slowly when poked.
kneading~ 5 min - 4
Cover the dough tightly with a damp towel and let it rest on the counter for twenty minutes.
This relaxation step is non-negotiable for easy rolling.
resting~ 20 min - 5
Roll the dough out on a lightly floured surface to a uniform quarter-inch thickness, rotating the sheet frequently.
Stop if the dough fights back; let it rest another five minutes.
rolling~ 5 minTricky bit - 6
Use a sharp knife or pastry wheel to cut the sheet into four-inch squares, then lightly dust each piece with cornstarch.
Stack squares in groups of three, dusting between each layer to prevent sticking.
dusting~ 3 min
Cooking from frozen
Peel apart gently while still cold and drop directly into simmering broth; never thaw first to avoid gummy clumping.
Storage times are a guide — always use your judgement and store food safely.