
Handstand Push-Up
handstand-push-up
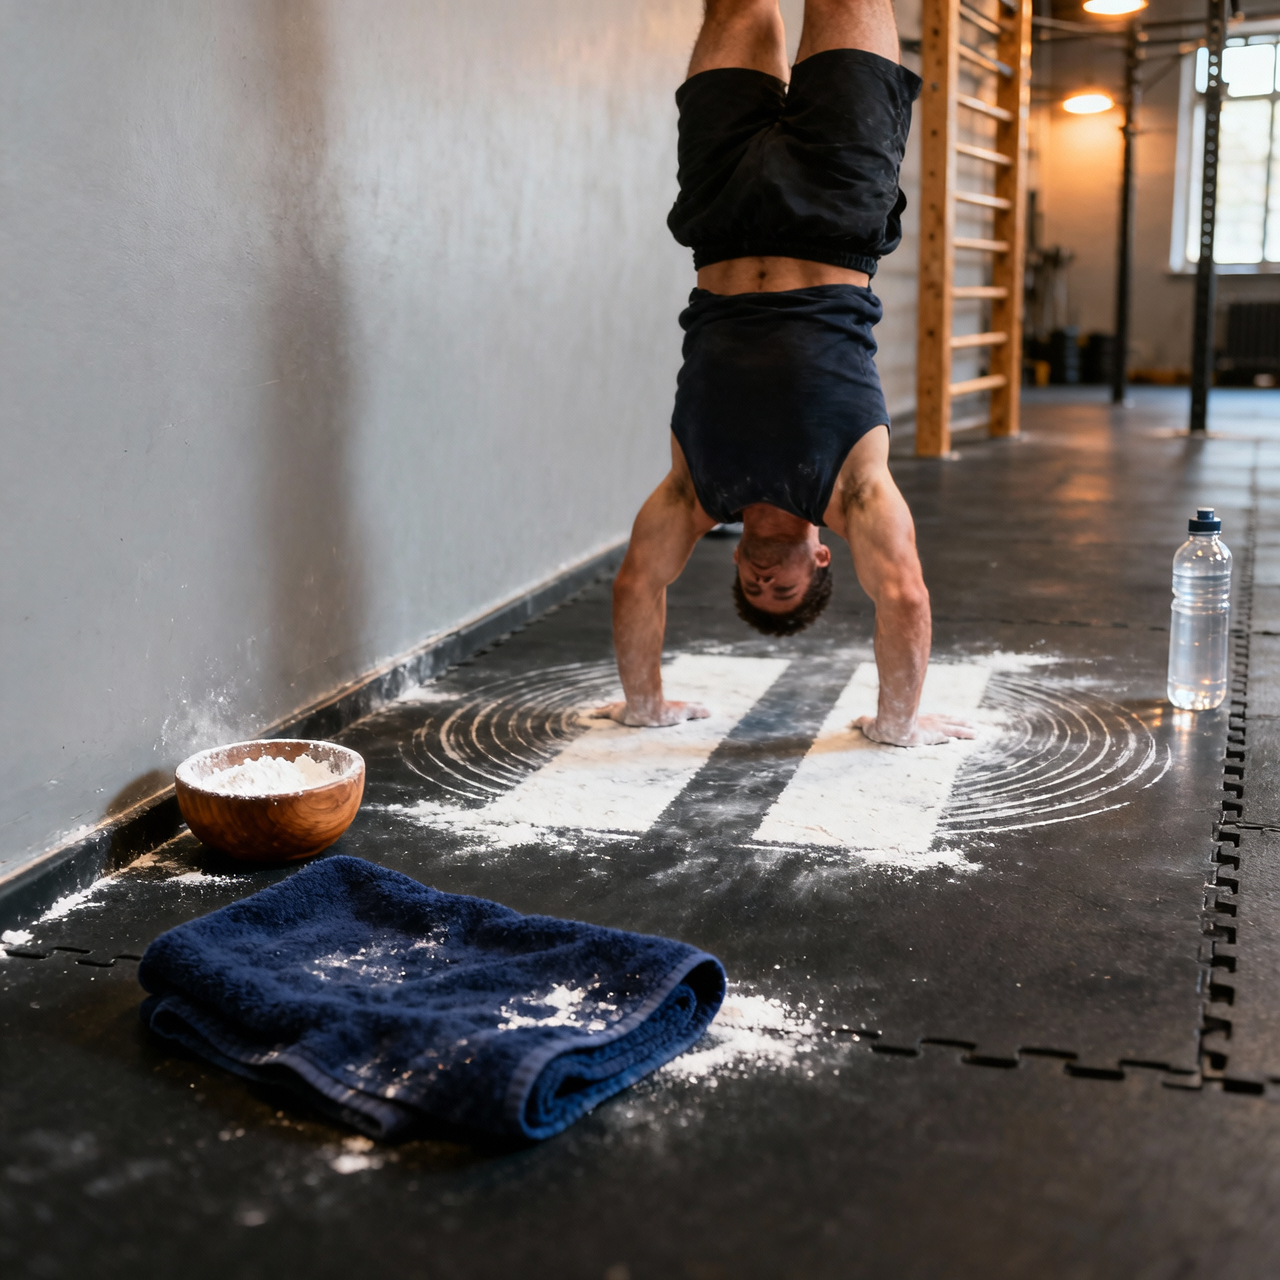
When I nail a handstand push-up, the entire movement flows like a controlled pulse. My shoulders lock into place, my core stays fiercely engaged, and I feel a smooth, powerful drive from my hands through my upper back. Each descent is deliberate, each press feels crisp and grounded, leaving me with that satisfying burn across my delts. It’s not about brute force—it’s about tension, balance, and trusting your inverted strength to carry you through.
If you're new to this
If you are new to this movement, I recommend building your foundation with pike push-ups and wall-supported handstands before attempting full freestanding reps. Keep your feet lightly touching a wall to prevent overbalancing, and focus on maintaining a hollow body position throughout. You will know you are approaching failure when your elbows begin to flare outward uncontrollably or your core loses tension, causing your lower back to arch excessively. Stop the set immediately if you feel sharp shoulder pain, wrist instability, or dizziness. Common compensations include rushing the descent, flaring the elbows past ninety degrees, or using momentum to kip the hips upward instead of pressing with pure muscular control. I want you to prioritize slow, deliberate repetitions over speed. Quality over quantity will protect your joints while steadily building the vertical pushing strength you need. Trust the process, scale the range of motion if necessary, and celebrate every controlled descent as a victory in neuromuscular adaptation.
Common mistakes
Most practitioners compromise this exercise by allowing their elbows to flare outward, which shifts dangerous stress onto the rotator cuff instead of the intended pressing muscles. Another frequent error is breaking the rigid body line by sagging the hips or arching the lower back, which dissipates force and destabilizes the entire kinetic chain. Many also rush the eccentric phase, dropping their head too quickly and relying on rebound momentum rather than controlled muscular tension to press upward. Finally, neglecting active scapular elevation at the top leaves the neck vulnerable and reduces the effectiveness of the lockout phase. I see athletes trying to force full range of motion before establishing baseline shoulder stability, which inevitably leads to compensatory shrugging or cervical strain. Mastering the hollow position and maintaining a consistent tempo will eliminate these issues and transform sloppy attempts into precise, powerful repetitions.
Routine
- Sets
- 3
- Reps
- 5-8
- Rest
- 120s
- Tempo
- 3-0-1-0
- Frequency
- 2-3x/week
Increase difficulty by elevating hands for greater range of motion, adding a weight vest, or transitioning from wall-supported to freestanding.
Muscles
- Shoulders
- Triceps
- Traps
- Abs
Equipment
- Bodyweight
- 1
Place your hands flat on the floor shoulder-width apart with fingers spread wide and pointing forward.
- 2
Step into a handstand until your hips stack directly over your shoulders and your body forms a straight line.
- 3
Brace your core, squeeze your glutes, and actively push through your palms to lock your elbows and stabilize the position.
- 4
Inhale steadily as you bend your elbows and lower your head toward the floor while maintaining a rigid torso.
- 5
Pause briefly when your elbows reach a ninety-degree angle or your crown lightly contacts the ground.
- 6
Exhale forcefully and drive through your palms to straighten your arms and return to the fully extended inverted position.
- 7
Lower your feet to the floor with control and stand upright to reset your posture and breathing.