
Lizard Pose
lizard-pose
I designed this deep hip opener to quietly melt tension where you hold it most. When you sink into Lizard Pose correctly, you’ll feel a steady, warming release along the front of your hips and a gentle stretch through the inner thighs, without any sharp pinching in your knees. Focus on keeping your spine long and breathing into the tight spots. Let gravity do the heavy lifting while your nervous system downshifts.
If you're new to this
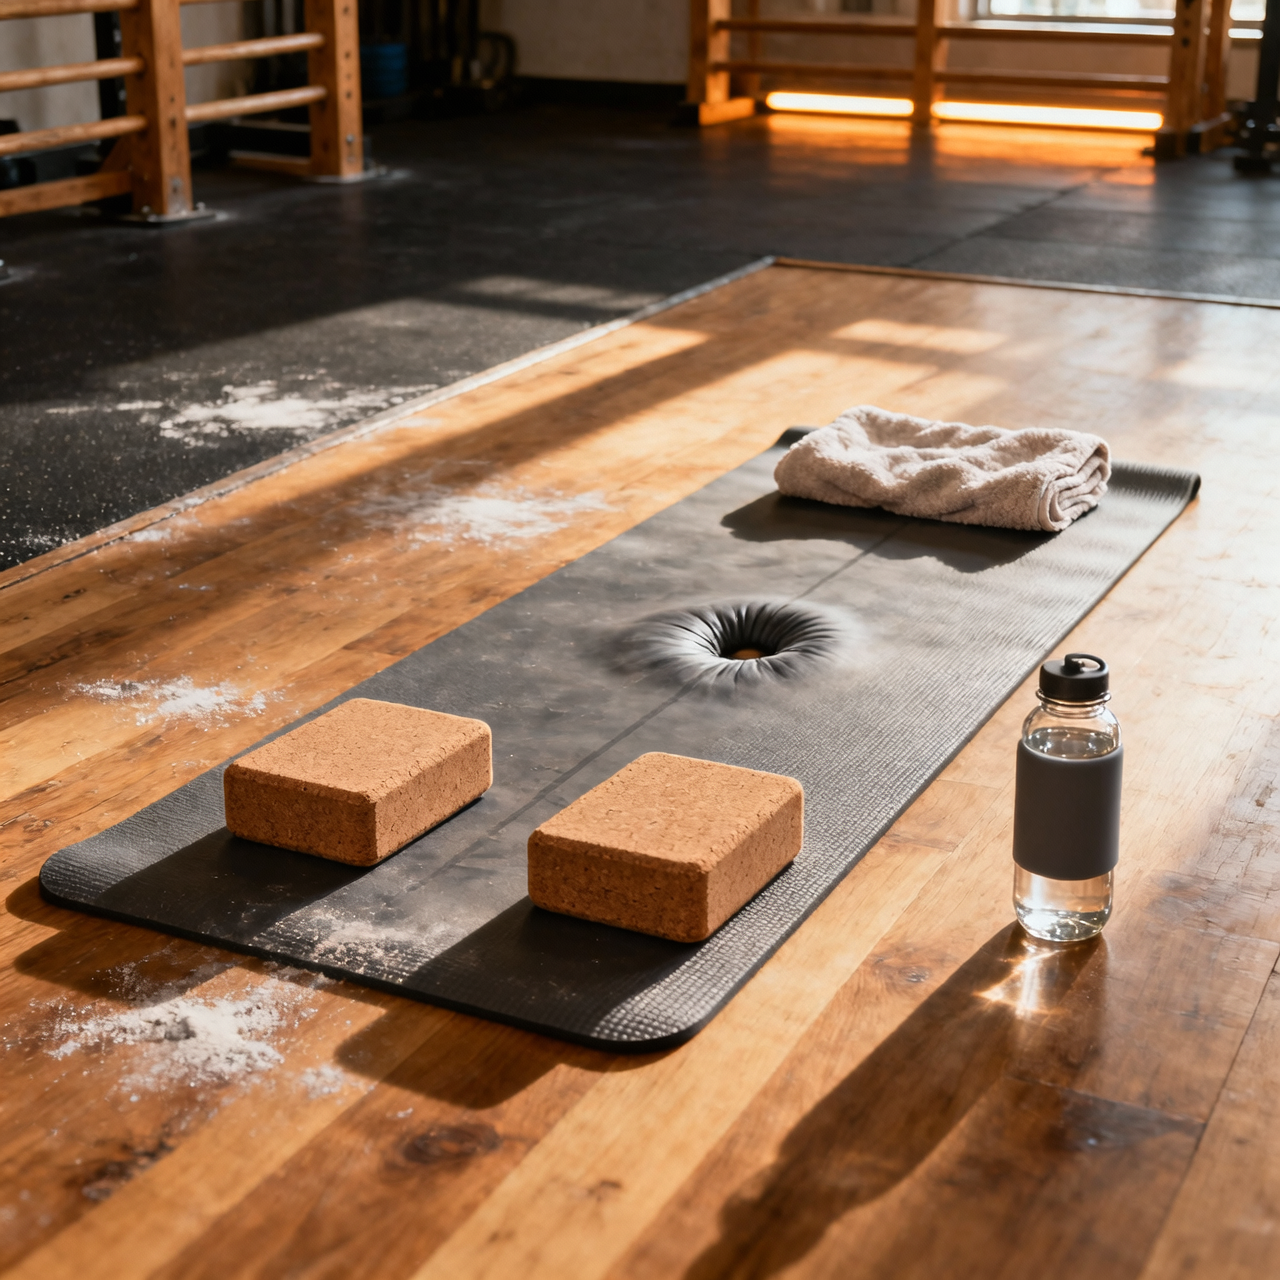
Lizard Pose is a deep tissue stretch, so patience is your greatest tool. Keep your weight evenly distributed between your hands and forearms to avoid dumping pressure into your front knee. If you feel sharp pain in your knee joint or lower back, ease out of the pose immediately. A mild, dull ache in the groin or hip flexors is normal and indicates effective stretching, but burning or pinching means you’ve gone too far. Beginners often compensate by letting the front knee drift inward or by rounding the upper back; instead, actively press your front knee outward and draw your shoulder blades down your spine. Place a folded towel or yoga block under your front hip if the floor feels too distant. Breathe slowly and consistently, allowing your muscles to relax into the position rather than forcing it. Consistency beats intensity here, so hold comfortably and build duration gradually over time.
Common mistakes
Most practitioners rush into this pose by collapsing their chest and rounding their shoulders, which transfers tension away from the hips and into the lower back. Another frequent error is allowing the front knee to cave inward, which places dangerous torque on the medial knee ligaments instead of targeting the hip capsule. Many also forget to square their hips, letting the pelvis rotate open to the side, which drastically reduces the stretch’s effectiveness. Finally, holding your breath or bearing down creates unnecessary intra-abdominal pressure and triggers muscle guarding. Keep your gaze soft, your spine long, and your weight balanced to ensure the stretch stays safely isolated in the intended tissues.
Routine
- Sets
- 3
- Reps
- 30-60s per side
- Rest
- 60s
- Frequency
- 3-4x/week
Lower from forearms to the floor, or slide your front foot further forward to deepen the stretch safely.
Muscles
- Hip flexors
- Glutes
- Adductors
- Hamstrings
Equipment
- Bodyweight
- 1
Start in a high plank position with your wrists stacked directly under your shoulders and your core lightly engaged.
- 2
Step your right foot forward to the outside of your right hand, aligning your knee with your ankle.
- 3
Step your left foot back, lowering onto your forearms while keeping your hips squared toward the front of the mat.
- 4
Inhale to lengthen your spine, then exhale to gently press your hips forward and down toward the floor.
- 5
Hold the position for several deep, diaphragmatic breaths, feeling the stretch deepen with each exhale.
- 6
Press firmly through both hands, step your right foot back to meet the left, and return to a neutral tabletop.
- 7
Repeat the entire sequence on the opposite side to maintain balanced flexibility.